
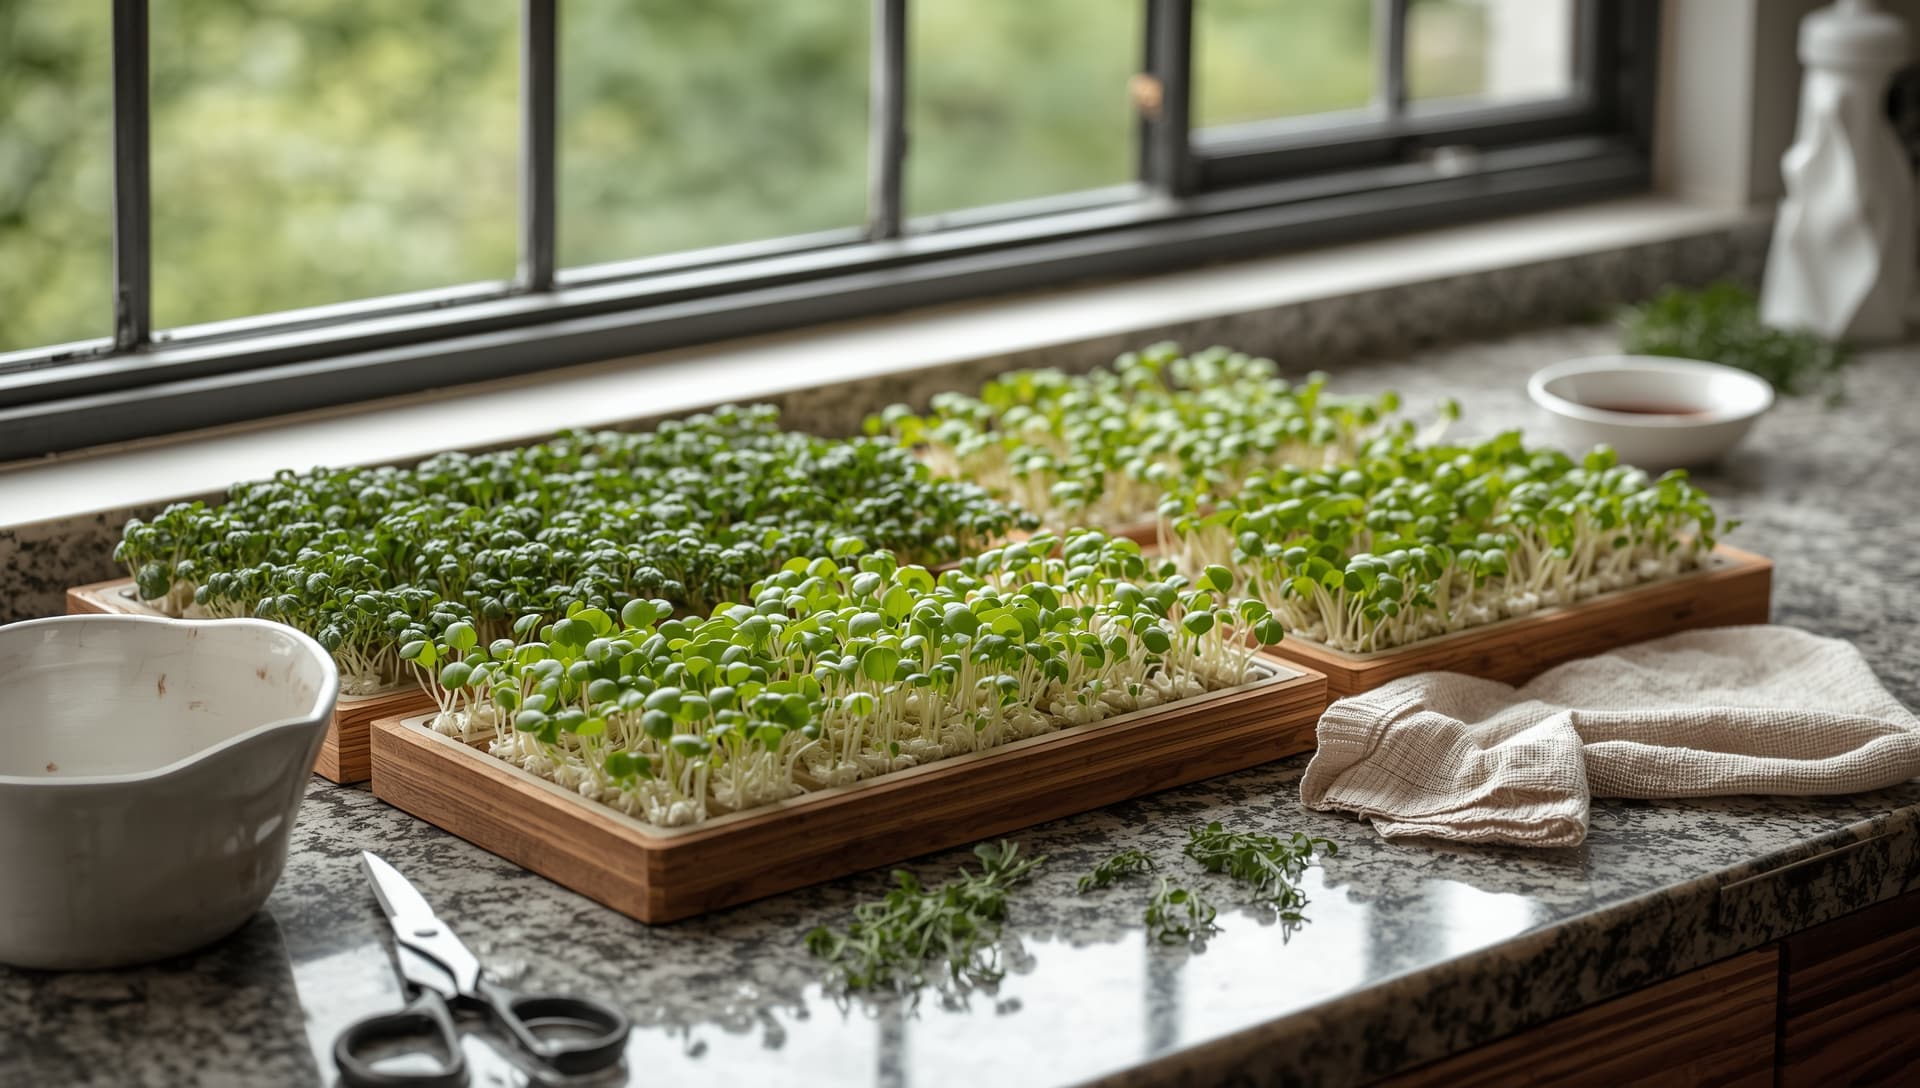
How to grow microgreens at home, take a shallow tray, fill it with a light soil mix, sprinkle microgreen seeds evenly, mist with water, cover for 2–3 days, and place under indirect sunlight or LED lights. In 7–14 days, your microgreens will be ready to harvest with scissors.
Microgreens are tiny plants harvested just 7–14 days after germination. They are small but packed with nutrients, often containing several times more vitamins and antioxidants than mature vegetables. They are easy to grow, affordable, and require very little space. You can grow them in trays, containers, or indoors under lights, even in apartments.
Growing microgreens at home ensures you have fresh, nutrient-rich greens for smoothies, salads, sandwiches, and garnishes. This guide will cover everything—from selecting seeds and soil to the growth timeline, harvesting, troubleshooting, and using microgreens in everyday meals.

What Are Microgreens and Why Grow Them?
Microgreens are young plants harvested just after sprouting, usually 1–3 inches tall. They are bigger than sprouts but smaller than baby greens and are consumed for their tender stems and leaves. Unlike sprouts, which are eaten with roots, microgreens are harvested above the soil line, giving a more flavorful and nutrient-dense experience.
Nutritionally, microgreens are power-packed. They often contain higher levels of vitamins, minerals, and antioxidants compared to their mature counterparts. For example, broccoli microgreens are rich in sulforaphane, a compound known for its anti-cancer properties, while wheatgrass is renowned for detoxifying and energy-boosting benefits.
Growing microgreens is sustainable, economical, and beginner-friendly. You don’t need prior gardening experience. A single tray can be harvested in under two weeks, making them ideal for anyone wanting quick, fresh, home-grown nutrition.

Essential Supplies for Growing Microgreens at Home
Choosing the Right Trays and Containers
Microgreens grow best in shallow trays about 1–2 inches deep with drainage holes. You can also repurpose containers like baking pans or takeout boxes as long as they allow proper drainage.
Seeds Suitable for Microgreens
Use high-quality, untreated seeds to ensure safe and healthy growth. Popular varieties include radish, sunflower, broccoli, basil, mustard, and pea shoots. For detailed guidance on growing pea shoots, you can follow growing microgreens from pea shoots at home.
Best Soil Mix for Microgreens
Healthy microgreens need the right soil. The best soil mix for growing microgreens typically combines coco coir for aeration, compost for nutrients, and perlite or vermiculite for water retention. This mix ensures the seeds get enough moisture without becoming soggy.
Alternatives: Growing Without Soil
Hydroponic methods using mats or paper towels are possible, but soil-grown microgreens generally taste richer and have higher nutrient content.

Step-by-Step Guide: How to Grow Microgreens at Home
Step 1: Prepare Your Growing Tray
Fill a shallow tray with your chosen soil mix, spreading an even layer about 1 inch thick. Press lightly so the surface is level but not compacted.

Step 2: Sow the Seeds Evenly
Scatter seeds evenly across the soil surface. Mist lightly with water to moisten the seeds without washing them away.
Step 3: Cover and Germinate
Cover the tray to create a dark, humid environment for 2–3 days to encourage germination. Mist daily to prevent the soil from drying out.
Step 4: Provide Light and Air
Once sprouts appear, remove the cover. Place the tray under natural sunlight or use how to grow microgreens under LED lights for indoor setups. Proper air circulation helps prevent mold growth.

Step 5: Watering the Right Way
Water lightly using a spray bottle or bottom-watering method. Avoid overwatering to prevent mold. For guidance, see how often to water microgreens in trays.
Step 6: Monitor Growth and Troubleshoot
Watch for pale leaves or mold. Yellowing leaves can indicate nutrient or light deficiency. For step-by-step solutions, check troubleshooting yellowing microgreens.

Step 7: Harvest at the Right Time
Harvest when microgreens reach 2–3 inches tall with the first true leaves. Follow harvest microgreens timeline for timing specific varieties. Use scissors to cut just above the soil line.

Microgreens Growth Timeline
Germination Stage (Day 1–3)
Seeds absorb water and begin sprouting. Keep the tray covered in a dark environment and mist daily to maintain moisture.

Growth Stage (Day 4–10)
Remove the cover and provide light, either natural sunlight or artificial LED lights. Monitor soil moisture carefully to prevent overwatering. For LED setups, see how to grow microgreens under LED lights.

Harvest Stage (Day 7–14)
Microgreens are ready when they reach 2–3 inches tall and have developed their first true leaves. Cut just above the soil line using scissors. Refer to harvest microgreens timeline for each variety’s optimal harvest time.

Popular Varieties of Microgreens to Grow
Microgreens come in many varieties, each offering unique flavors, colors, and nutrients. Some popular options include:
- How to grow wheatgrass indoors – Great for smoothies and detox drinks, wheatgrass is nutrient-dense and easy to grow in trays.
- Growing microgreens from pea shoots at home – Pea shoots are sweet, tender, and perfect for salads and sandwiches.
- Sunflower – Crunchy and nutty, ideal for garnishes.
- Radish – Spicy flavor, adds zing to salads and sandwiches.
- Broccoli – Mild, nutrient-rich, and versatile in recipes.
- Basil – Aromatic, perfect for topping pasta or pizza.
- Mustard – Slightly spicy, enhances flavor and nutrition in dishes.

Harvesting and Storing Microgreens
Harvest microgreens when they reach 2–3 inches tall and have developed their first true leaves. Use clean scissors to cut just above the soil line to avoid contamination. Following harvest microgreens timeline ensures optimal flavor and nutrient content for each variety.
After harvesting, store microgreens in an airtight container in the refrigerator. They typically stay fresh for up to 7 days. Gently wash only before using to maintain shelf life and prevent wilting.

Microgreens Recipes and Uses
Microgreens are versatile and can enhance both flavor and nutrition in everyday meals. Some popular uses include:
- Smoothies: Add wheatgrass or pea shoots for a nutrient boost.
- Salads & Sandwiches: Radish, sunflower, or basil microgreens add crunch, color, and flavor.
- Garnishes: Use microgreens to top soups, pasta, omelets, or even pizzas for an elegant presentation.

Frequently Asked Questions About Microgreens
Q1: What are microgreens?
Microgreens are young, edible plants harvested just after sprouting, usually 1–3 inches tall. They are packed with nutrients and eaten for their stems and leaves.
Q2: How often should I water microgreens?
Water lightly to keep soil moist but not soggy. For detailed guidance, see how often to water microgreens in trays.
Q3: Can microgreens grow under artificial light?
Yes, they can. LED lights are an excellent option for indoor growth. Check how to grow microgreens under LED lights for setup tips.
Q4: How do I fix yellowing leaves?
Yellowing may be due to nutrient deficiencies or overwatering. Follow troubleshooting yellowing microgreens for solutions.
Q5: When is the best time to harvest microgreens?
Harvest when microgreens are 2–3 inches tall with the first true leaves. Refer to harvest microgreens timeline for specific varieties.

Final Thoughts on Growing Microgreens at Home
Growing microgreens at home is simple, fast, and rewarding. With just a tray, seeds, and soil, you can enjoy nutrient-packed greens in 7–14 days. Proper care, lighting (how to grow microgreens under LED lights), and watering (how often to water microgreens in trays) are key to healthy growth.
Monitor your plants regularly and troubleshoot issues like yellowing leaves (troubleshooting yellowing microgreens). Harvest at the right time (harvest microgreens timeline) for maximum flavor and nutrition. Once harvested, store microgreens properly in airtight containers in the refrigerator to enjoy them throughout the week.
Growing microgreens is perfect for anyone looking to eat healthier, save money, and add fresh, vibrant greens to their meals.