
To grow garlic in spring, choose softneck varieties or pre-chilled hardnecks, chill cloves at 35–40 °F for 4–6 weeks, plant 4–6 weeks before the last frost when soil is 40–50 °F, space cloves 2–3 inches deep and 4 inches apart, mulch lightly, maintain consistent moisture and fertility, remove scapes in early summer, and harvest when lower leaves brown after 6–7 months
Growing garlic in spring extends the planting window for gardeners who miss fall deadlines or live in regions where fall planting isn’t practical. While spring planting yields smaller bulbs than fall, it delivers fresh garlic greens and mature bulbs by mid to late summer. This guide covers variety selection, pre-chilling techniques, planting timing, soil preparation, care, pest management, harvest, and storage.
Variety Selection for Spring Planting
Softneck garlic adapts best to spring planting due to low vernalization requirements and heat tolerance. Varieties such as ‘California Early’, ‘Inchelium Red’, and ‘Italian Late’ perform well. Hardneck garlic can be spring-planted if pre-chilled for 4–6 weeks at 35–40 °F; however, softneck types consistently produce bulbs.
Pre-Chilling Techniques
Vernalization, or cold exposure, triggers bulb formation. To simulate winter, store cloves at 35–40 °F for 4–6 weeks in a ventilated container with slight moisture. Check weekly to remove any decayed cloves. Pre-chilling ensures adequate cold hours and improves bulb set.
Soil Preparation and Site Selection
Choose a sunny location with full sun—minimum 6 hours daily. Work soil to 8–12 inches depth, amending with 2–4 inches of compost or well-rotted manure to improve fertility and drainage. Test pH and aim for 6.0–6.5. Incorporate coarse sand or perlite if soil is heavy or clay-like to prevent waterlogging.
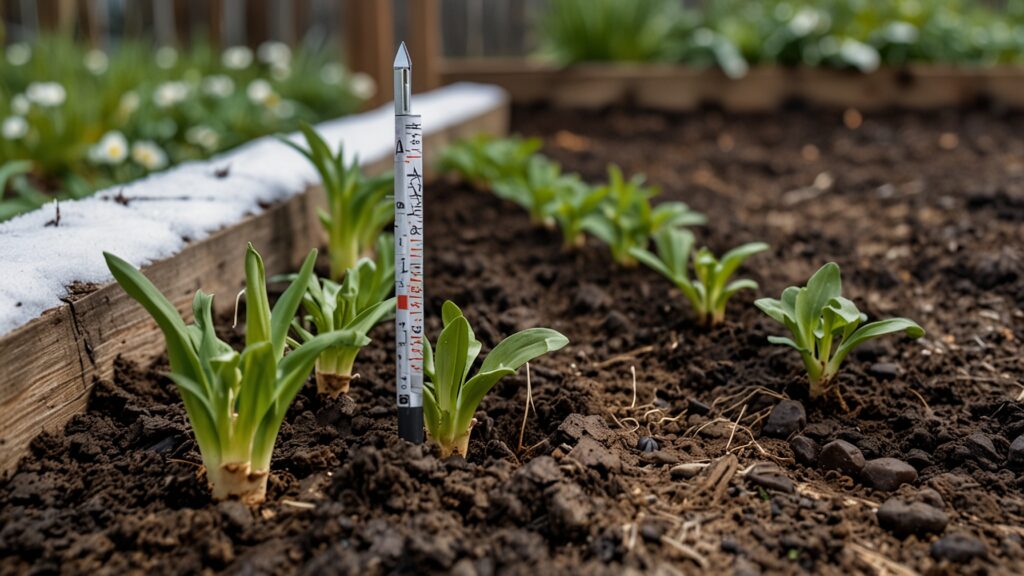
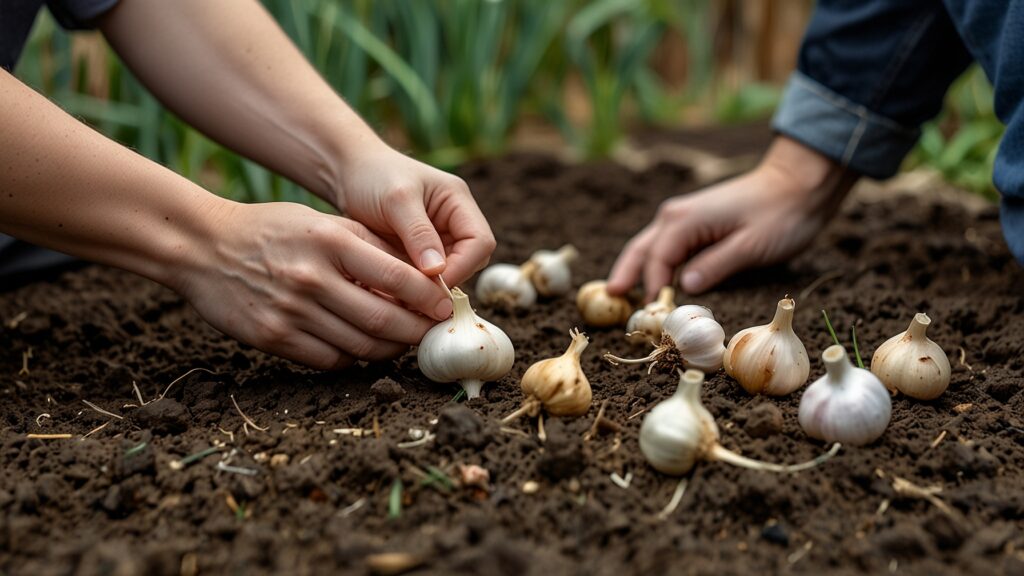
Planting Timing and Technique
Plant 4–6 weeks before the last average frost date when soil temperatures stabilize between 40 and 50 °F. Use a soil thermometer to confirm. Dig holes 2–3 inches deep, spacing cloves 4 inches apart in a grid or rows 12–18 inches apart. Place cloves pointy end up, basal plate down, and firm soil gently around each clove.
Mulching and Water Management
Lightly mulch planted areas with 1–2 inches of straw, shredded leaves, or grass clippings to conserve moisture and suppress weeds. Avoid heavy mulch that traps heat. Water immediately after planting and maintain about 1 inch of water per week, applying deeply to encourage root development. Reduce watering during bulb maturation to improve storage quality.
Fertilization Schedule
Spring-planted garlic benefits from early feeding. When shoots reach 2–3 inches, side-dress with balanced fertilizer (e.g., 10-10-10) or compost tea. Apply a second feeding 4–6 weeks later. Avoid high nitrogen late in the season to prevent lush foliage at the expense of bulb size and storage life.
Scape Harvesting for Hardneck Varieties
If hardneck cloves were pre-chilled and produce scapes, remove flower stalks at the tight-curl stage to redirect energy into the bulb. Scapes harvested in spring make excellent pesto ingredients and stir-fry additions.
Pest and Disease Monitoring
Inspect daily for onion thrips, aphids, and fungal spots. Early detection allows targeted control with insecticidal soap or neem oil. Ensure good air circulation by proper spacing and avoid overhead watering. Rotate garlic with non-allium crops to prevent soil-borne diseases like white rot and fusarium.
Mid-Season Care
As leaves lengthen, thin competing weeds by hand to reduce competition. Monitor soil moisture and nutrient levels; symptoms of yellowing leaves indicate nitrogen deficiency, while purple-tinged leaves suggest phosphorus shortage. Adjust fertilization accordingly.
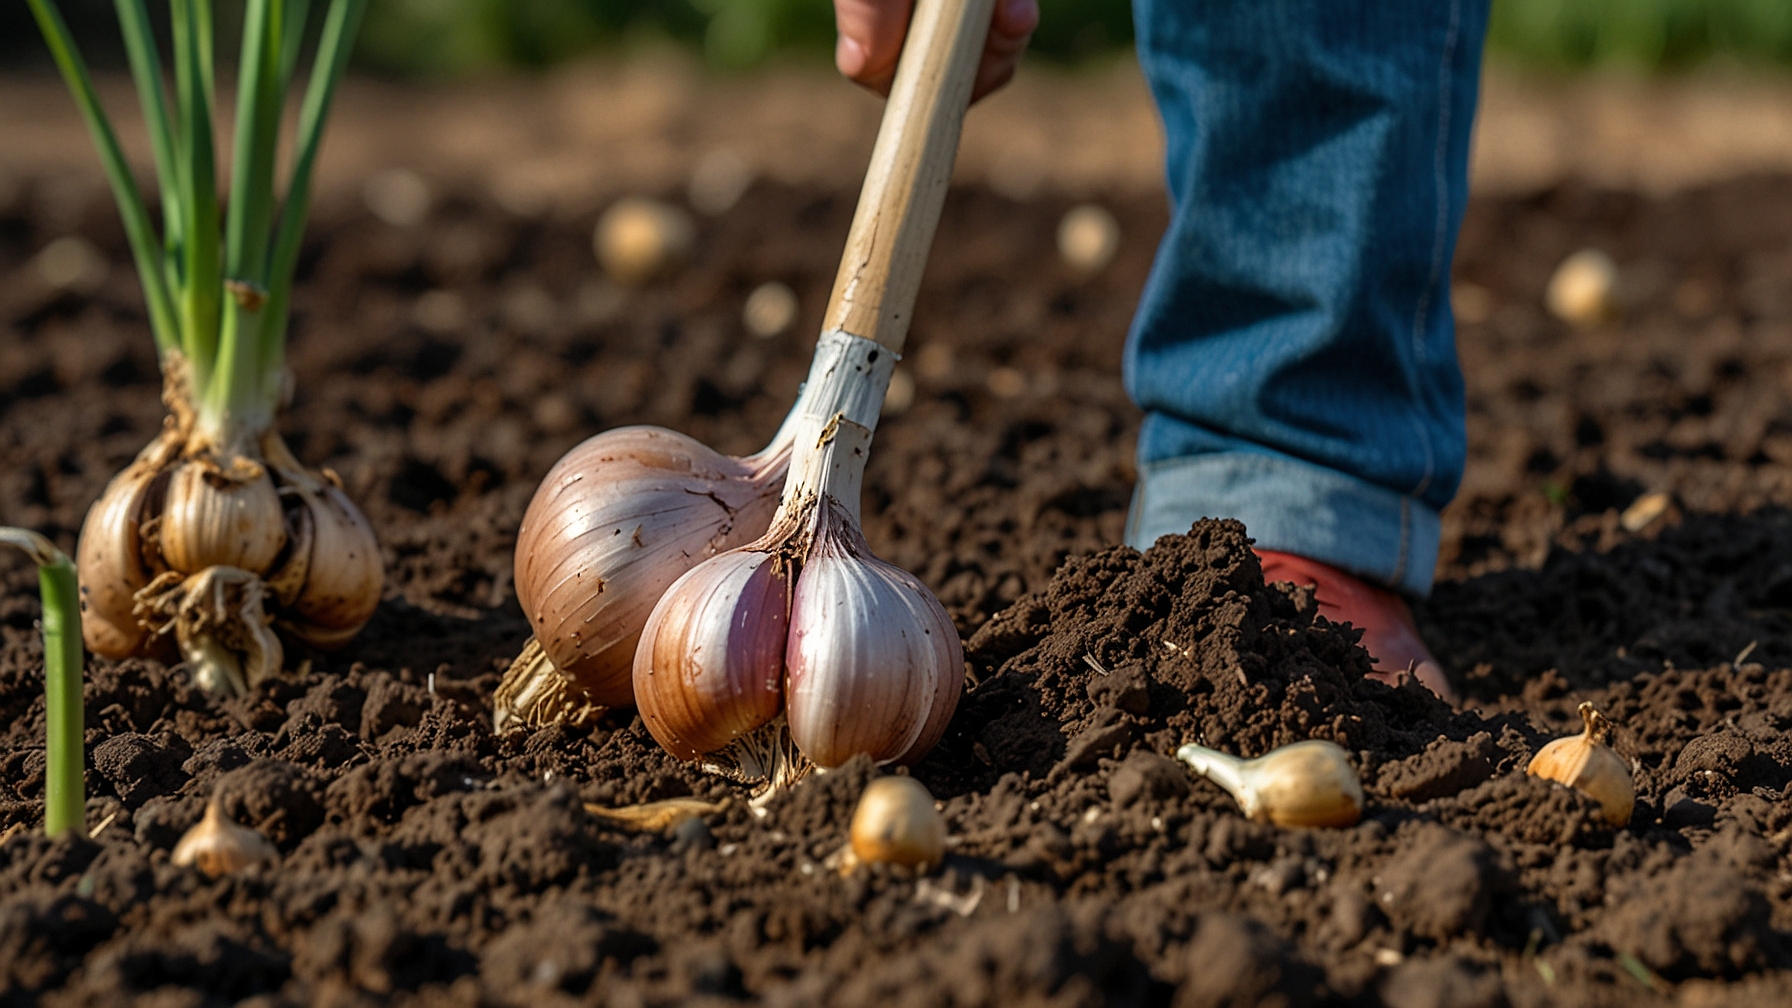
Harvest Timing and Indicators
Spring-planted garlic matures in 6–7 months, earlier than fall-planted crops. Harvest when the bottom three to five leaves brown while the upper leaves remain green. Use a garden fork or trowel to gently lift bulbs, avoiding wrapper damage.
Curing and Storage
Gently brush off soil without removing wrappers and cure bulbs in a shaded, well-ventilated area for 2–3 weeks at 70–80 °F. Hang in bundles or spread on racks, turning weekly until necks are dry and skins papery. Trim roots to ¼ inch and stalks to 1 inch above bulbs.
Store softneck varieties in mesh bags or braids at 32–40 °F and 60–70% humidity for up to 8 months; spring-planted bulbs typically last 4–6 months. Use softer or sprouted bulbs first.
Troubleshooting and Tips
Signs of small bulbs often result from insufficient vernalization or tight spacing—ensure pre-chilling is adequate and maintain 4-inch spacing. Poor emergence can indicate clove rot—inspect storage conditions and discard damaged cloves. Overly wet soil leads to rot; adjust irrigation and improve drainage.
Culinary Uses of Spring Garlic
Spring garlic offers delicate flavor. Use freshly harvested bulbs raw in salads or lightly cooked in sautés. Garlic greens and scapes from spring plantings add a mild allium taste to omelets, soups, and pestos. Preserve surplus by freezing in oil cubes or dehydrating into flakes.
Spring planting extends garlic’s growing season and provides fresh bulbs and greens for mid-summer harvest, making it a flexible option for gardeners who need an alternative to fall planting.