
To grow garlic in raised beds, construct beds 8–12 inches high, fill with a mix of loamy soil, aged compost, and coarse sand, plant cloves 2 inches deep and 4 inches apart in fall, mulch heavily, maintain consistent moisture and fertility, remove scapes in summer, and harvest when lower leaves brown after 8–9 months.
Raised beds offer superior drainage, soil temperature control, and accessibility—ideal for cultivating robust garlic bulbs. This guide covers bed construction, soil preparation, planting layout, seasonal care, pest management, harvest, curing, and storage to maximize yield and bulb quality.
1. Raised Bed Construction and Location
Build raised beds at least 8–12 inches tall using rot-resistant materials such as cedar, composite boards, or galvanized steel. A width of 3–4 feet ensures you can reach center without stepping inside. Position beds in a location receiving 6–8 hours of direct sunlight daily. Avoid low-lying areas prone to waterlogging.
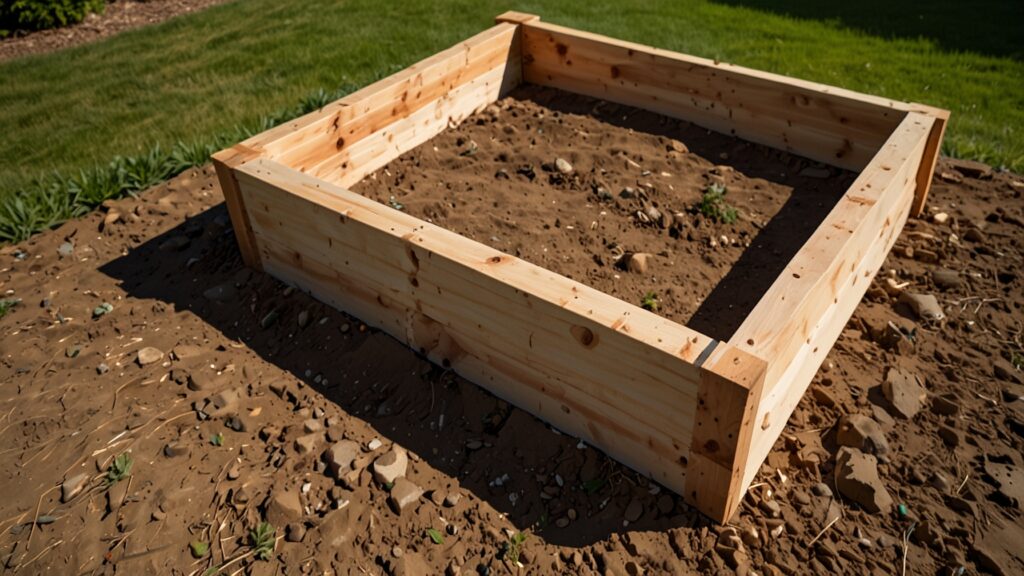
Line the bottom with landscape fabric or cardboard to suppress weeds, and ensure bed base is level. Beds can be freestanding or built atop existing soil; both work if drainage is adequate.
2. Soil Mix and pH Adjustment
Garlic thrives in loose, fertile soil rich in organic matter. Fill beds with a mix of:
- 40% loamy topsoil
- 40% well-aged compost (yard waste or manure)
- 20% coarse sand or builder’s sand
Test soil pH and adjust to 6.0–6.5:
- Add lime to raise pH if soil is acidic.
- Add elemental sulfur to lower pH if soil is alkaline.
Blend amendments thoroughly to a depth of 8–12 inches, ensuring uniform texture and fertility.
3. Planting Timing and Clove Preparation
Optimal planting occurs 4–6 weeks before the ground freezes in fall, allowing roots to establish before winter dormancy. In most temperate zones, this is mid-October through November.
Select large, firm, disease-free cloves from certified seed garlic. Separate bulbs into individual cloves 24–48 hours before planting, keeping papery skins intact. Optionally pre-sprout cloves by storing at 35–40°F in a ventilated container for 4–6 weeks to simulate vernalization, improving uniformity.
4. Planting Layout and Technique
Use a grid or row layout:
- Grid: Space cloves 4 inches apart in all directions.
- Rows: Space rows 12–18 inches apart; within rows, plant cloves 4–6 inches apart.
Dig planting holes 2 inches deep, place cloves pointy end up, and firm soil gently around them. Cover with 4 inches of straw mulch immediately to prevent frost heaving and suppress weeds.

5. Winter Protection (Zones 6 and Below)
Mulch thickness of 4–6 inches insulates soil temperature. For extreme cold, cover beds with floating row covers or frost cloth secured at edges. Ensure air circulation to prevent mold.
6. Spring Emergence and Fertilization
As soil warms in spring, remove any impermeable frost covers but leave mulch intact. When shoots reach 2–3 inches, side-dress beds with a balanced granular fertilizer or compost, applying around plants without touching shoots. Repeat feeding mid-season. Maintain 1 inch of water per week via drip irrigation or soaker hoses, avoiding overhead watering.
7. Weed and Pest Management
Garlic competes poorly with weeds. Maintain mulch coverage and hand-weed paths and row edges. Common pests include onion thrips and bulb mites; monitor foliage weekly. Apply insecticidal soap or introduce beneficial insects such as lacewings for minor infestations. Rotate beds—avoid planting alliums in the same bed more than once every 3–4 years to prevent disease build-up.
8. Scape Removal and Yield Enhancement
Hardneck garlic produces scapes in early summer. Remove scapes when they form tight loops to redirect energy into bulb growth. Harvest scapes for culinary use—they make flavorful stir-fries and pesto ingredients.
9. Harvest Timing and Methods
Garlic matures about 8–9 months after planting. Indicators:
- Bottom 4–6 leaves brown while 2–3 upper leaves remain green.
- Stop irrigation 2 weeks prior to harvest to begin natural curing.
Use a garden fork to lift bulbs gently, loosening soil around them. Avoid pulling to prevent wrapper damage. Brush off excess soil and move bulbs to a shaded, ventilated area.
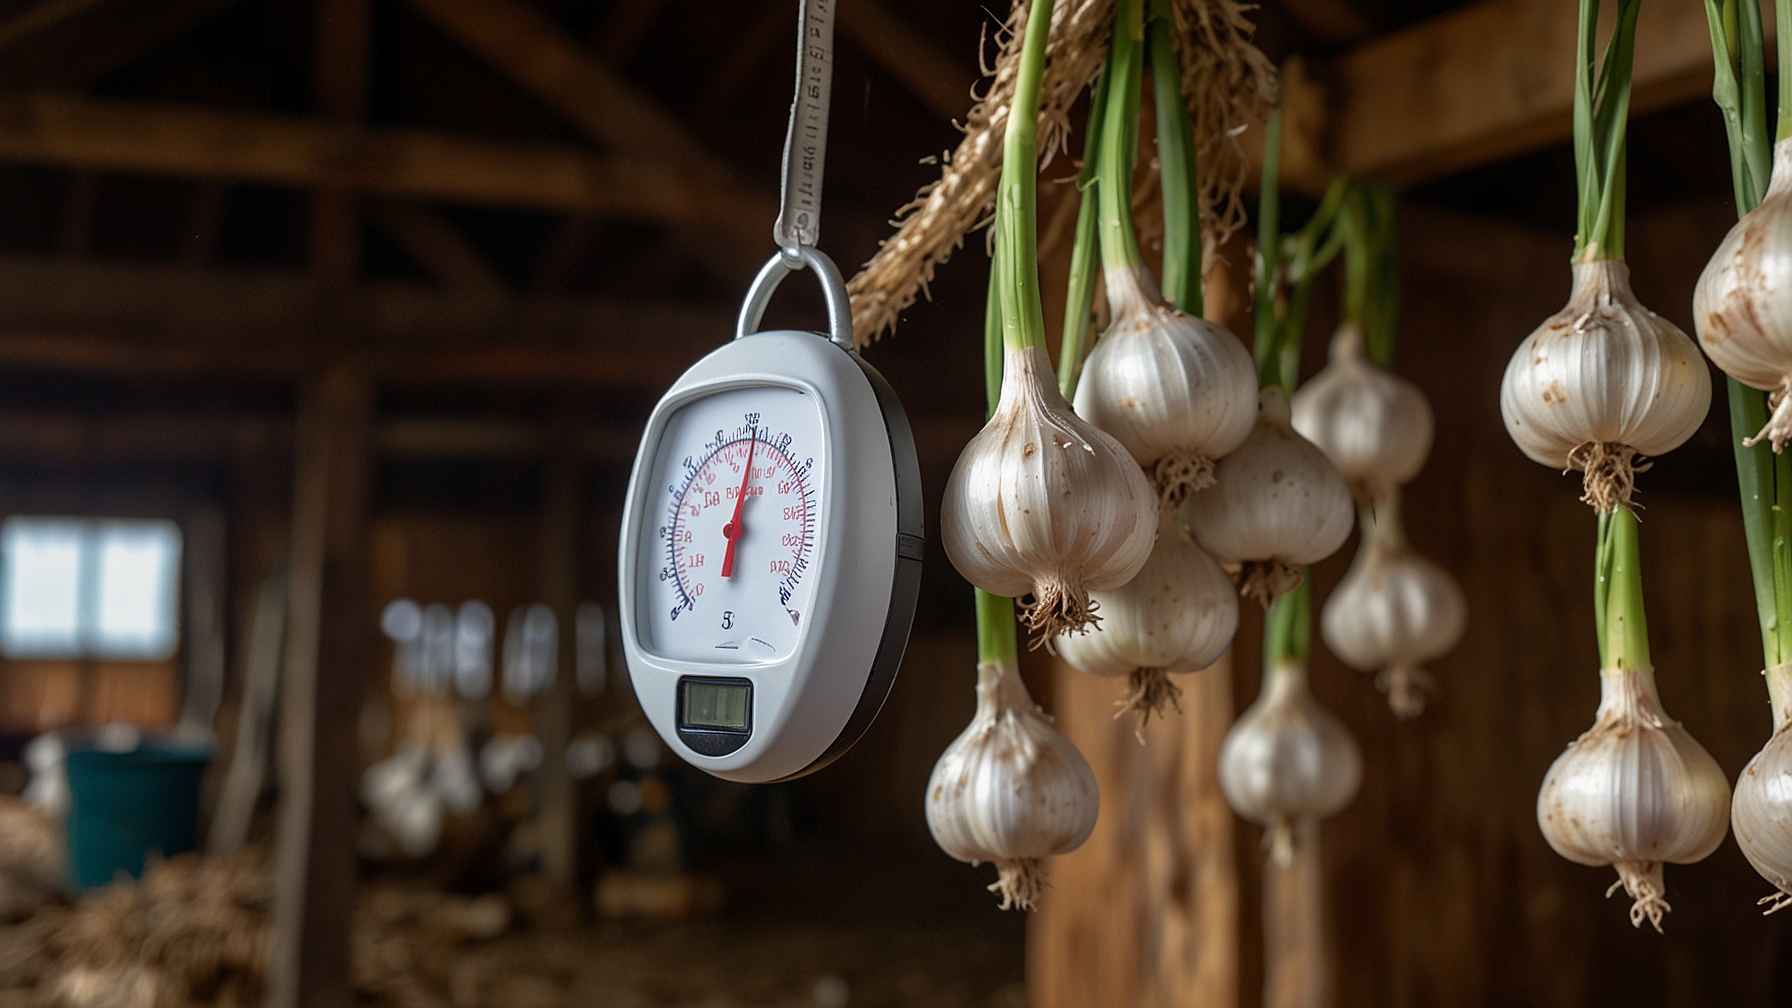
10. Curing for Storage
Proper curing develops flavor and extends storage life:
- Hang plants in bundles from rafters or spread bulbs in single layers on racks.
- Maintain temperature of 70–80°F and relative humidity of 50–60%.
- Ensure air movement with fans if needed; avoid direct sun.
Cure garlic for 2–4 weeks until wrappers feel papery and necks are thoroughly dry.
11. Storage and Preservation
After curing:
- Trim roots to ¼ inch and cut stalks to 1 inch above bulbs.
- Store softneck varieties in braids or mesh bags at 32–40°F with 60–70% humidity for 8–10 months; hardneck varieties last 4–6 months.
Preserve excess by:
- Freezing peeled cloves or garlic cubes in oil.
- Dehydrating into flakes or powder.
- Creating garlic-infused oils (acidify to prevent botulism) or vinegars.
12. Troubleshooting Common Issues
- Poor Bulb Formation: Insufficient fall planting time or inadequate mulching can lead to weak root systems.
- Excessive Top Growth/Late Bulbing: Late planting or high nitrogen in fall may delay vernalization signals.
- Rotting Bulbs: Overly wet soil—improve drainage or reduce irrigation.
- Scape Overgrowth: Delay scape removal to allow minor bulbing before full removal, but don’t leave scapes past tight loop stage.
By building well-planned raised beds, preparing optimal soil, following proper planting and care techniques, and managing pests and diseases, you can grow healthy garlic bulbs in raised beds that rival traditional ground plantings in flavor and yield—making garlic a standout feature of your home garden.