
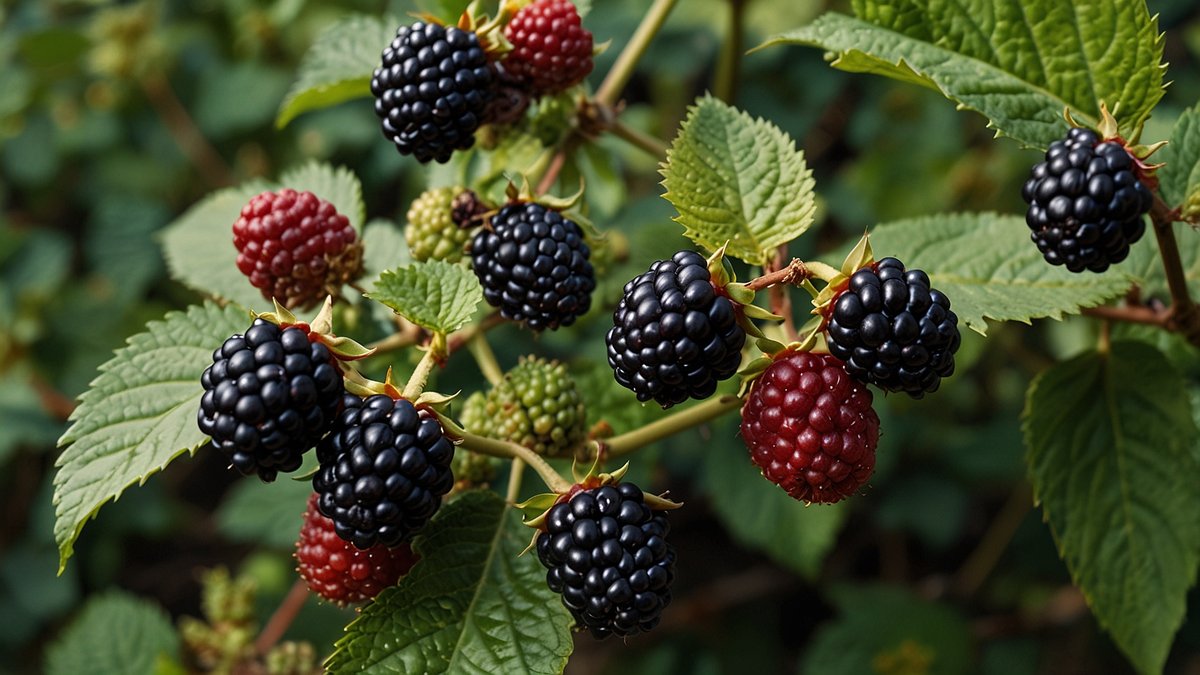
How to grow blackberries
To successfully grow blackberries, choose a sunny location with well-draining, slightly acidic soil. Plant bare-root canes or established plants in early spring, spacing them 3-5 feet apart. Provide a trellis for support, ensure consistent watering, and apply a balanced fertilizer annually. Prune old canes after fruiting to encourage new growth for the next season’s harvest.
Introduction to Blackberry Cultivation
Blackberries are a quintessential summer fruit, offering a rewarding harvest for gardeners of all skill levels. Unlike their wild counterparts, cultivated varieties, or cultivars, are bred for superior size, flavor, thornlessness, and disease resistance. Learning how to grow blackberries at home is a journey that yields sweet, juicy berries for fresh eating, baking, jams, and freezing. This comprehensive guide will walk you through every step, from selecting the right variety to enjoying your bountiful harvest.
Selecting the Right Blackberry Varieties
Your success begins with choosing a variety suited to your climate and garden space. Blackberries are categorized by their growth habit, which dictates how you will train and prune them.
Erect vs. Trailing vs. Semi-Erect
- Erect Blackberries: These grow stiff, upright canes and generally do not require a trellis, though one is recommended for easier management and harvesting. They are typically very cold hardy. Examples include ‘Cherokee’, ‘Cheyenne’, and ‘Navaho’ (a popular thornless variety).
- Trailing Blackberries: These have long, flexible canes that must be trellised. They are often less cold-hardy than erect types but are renowned for their exceptional fruit quality. ‘Marionberry’ (the “king of blackberries”) and ‘Boysenberry’ are famous trailing types. Most thornless varieties, like ‘Columbia Star’, are trailing.
- Semi-Erect Blackberries: As the name implies, these fall somewhere in between. They produce vigorous, thornless canes that initially grow upright but then arc over. They absolutely require trellising. ‘Chester’ is a hugely popular, productive, and winter-hardy semi-erect variety.
Thorny vs. Thornless Varieties
This is often the first decision for gardeners. Thornless varieties have been a game-changer, making planting, pruning, and harvesting a much more pleasant experience. While some purists argue thorny varieties have a more intense flavor, the difference is minimal, and the convenience of thornless cultivars like ‘Triple Crown’ and ‘Apache’ makes them the preferred choice for most home gardens.
Recommended Cultivars for Different Climates
- Cold Climates (USDA Zones 4-6): Focus on very winter-hardy erect and semi-erect types. ‘Illini Hardy’ (thorny), ‘Darrow’ (thorny), and ‘Chester’ (thornless) are excellent choices.
- Warm Climates (USDA Zones 7-9): You have more options, including trailing varieties. ‘Ouachita’ (thornless, erect), ‘Natchez’ (thornless, erect), and ‘Prime-Ark® Freedom’ (a thornless primocane-fruiting type) perform well with heat.
Ideal Growing Conditions and Site Selection
Replicating the blackberry’s preferred natural environment is key to a low-maintenance and productive patch.
Sunlight Requirements
Blackberries are sun worshippers. They require a minimum of 6-8 hours of direct sunlight per day to produce the maximum amount of flowers and fruit. Insufficient sun will result in weak, spindly growth, reduced flowering, and small, poorly flavored berries.
Soil Type and pH
The ideal soil is deep, fertile, and well-draining, with a high organic matter content. Blackberries are susceptible to root rot, so they cannot tolerate “wet feet.”
- Soil pH: They prefer a slightly acidic soil pH between 5.5 and 6.5. It is crucial to test your soil before planting. If your pH is too high (alkaline), you can lower it by incorporating elemental sulfur or peat moss.
- Soil Amendment: Before planting, work a generous amount (2-4 inches) of well-rotted compost or manure into the top 12 inches of soil. This improves drainage in clay soils and water retention in sandy soils.
Drainage and Airflow
Choose a site that is not in a low-lying area where water and cold air collect. Good airflow around the plants helps leaves dry quickly after rain or dew, which is your first line of defense against fungal diseases like anthracnose and powdery mildew. Avoid planting in the exact spot where other Rosaceae family members (raspberries, strawberries, roses, tomatoes, potatoes) have grown recently to prevent soil-borne disease carryover.
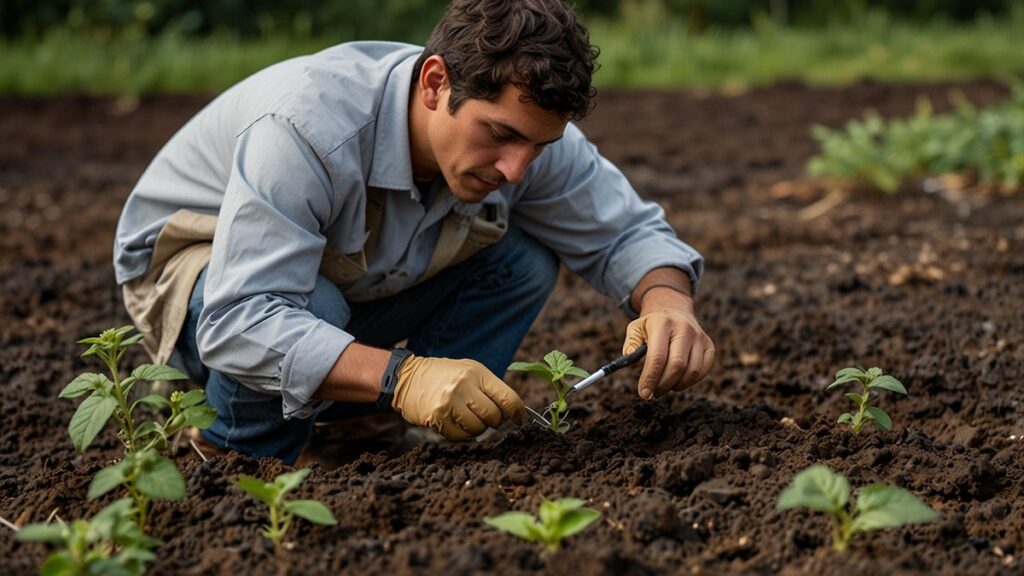
Planting Blackberries: A Step-by-Step Guide
Proper planting establishes a strong foundation for your blackberry patch for years to come.
When to Plant
The best time to plant bare-root blackberries is in early spring, as soon as the ground is workable, before new growth begins. Potted plants can be planted later in the spring or even in early fall, giving them at least 6 weeks to establish before a hard freeze.
Preparing the Planting Hole
- Dig a hole that is twice as wide and just as deep as the root ball of your plant.
- Create a small mound of soil in the center of the hole.
- If you are planting multiple plants, space erect varieties 3 feet apart in rows that are 8 feet apart. Space trailing and semi-erect varieties 5-8 feet apart with rows 8-10 feet apart.
Planting Process and Initial Care
- Place the bare-root plant or remove the potted plant and gently tease out any circling roots.
- Set the plant on the mound, spreading the roots outwards and downwards. The plant should be set at the same depth it was growing at in the nursery (look for the soil line on the stem).
- Backfill the hole with the native soil, gently firming it around the roots to eliminate air pockets.
- Water thoroughly immediately after planting to settle the soil.
- Prune the canes back to 6 inches tall after planting. This seems drastic, but it forces the plant to put its energy into developing a strong root system rather than supporting top growth.
Watering, Fertilizing, and Mulching
Consistent care, especially in the first two years, is essential for establishing a vigorous patch.
Watering Schedule and Techniques
Blackberries require 1-2 inches of water per week from rainfall or irrigation. The key is consistent moisture, especially from bloom through harvest. Drip irrigation or soaker hoses are ideal as they deliver water directly to the roots and keep foliage dry, reducing disease risk. Avoid overhead watering.
Fertilizer Needs and Application
Over-fertilizing, especially with nitrogen, can lead to excessive leafy growth at the expense of fruit and can make plants more susceptible to winter cold.
- Year 1: Fertilize newly planted blackberries about 4-6 weeks after planting with a balanced fertilizer (e.g., 10-10-10). Apply ½ pound per 25 feet of row.
- Established Plants: Fertilize each subsequent year in early spring as new growth begins. Use about 1-2 pounds of 10-10-10 (or a similar balanced fertilizer) per 25 feet of row. Spread it in a band around the plants, keeping it about a foot away from the crown.
The Importance of Mulching
A 3-4 inch layer of organic mulch is non-negotiable. It conserves moisture, suppresses weeds, keeps roots cool in summer, and adds organic matter to the soil as it decomposes. Use wood chips, shredded bark, pine needles, or straw. Avoid using grass clippings, which can mat down and create a slimy barrier, and keep the mulch a few inches away from the canes themselves to prevent rot.
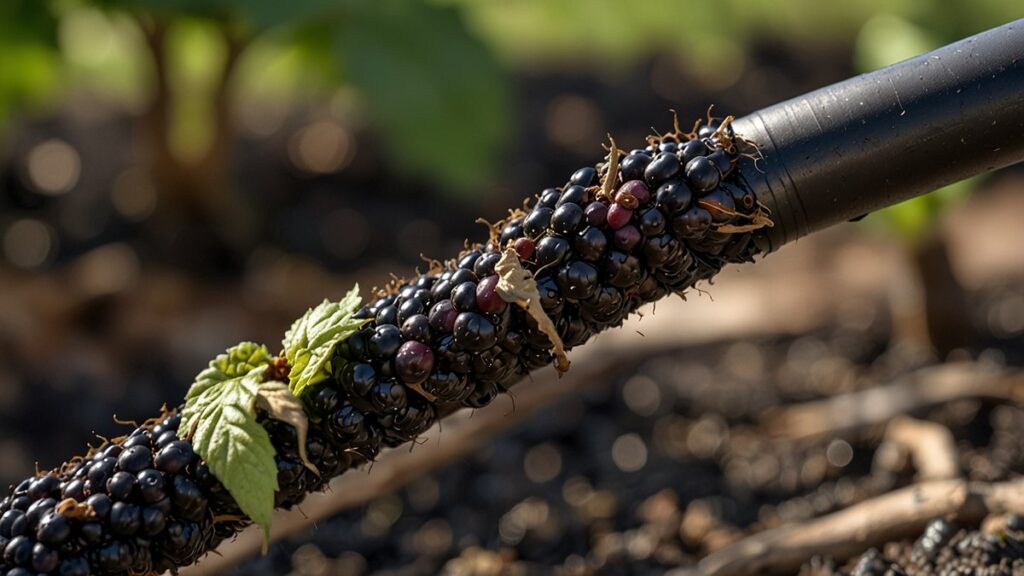
Training and Trellising Systems
A good support system keeps plants healthy, makes pruning easier, and maximizes fruit production.
Why Trellising is Essential
Even erect varieties benefit from a trellis. It keeps the canes and fruit off the ground, preventing disease and making harvesting easy. For trailing varieties, it is absolutely mandatory.
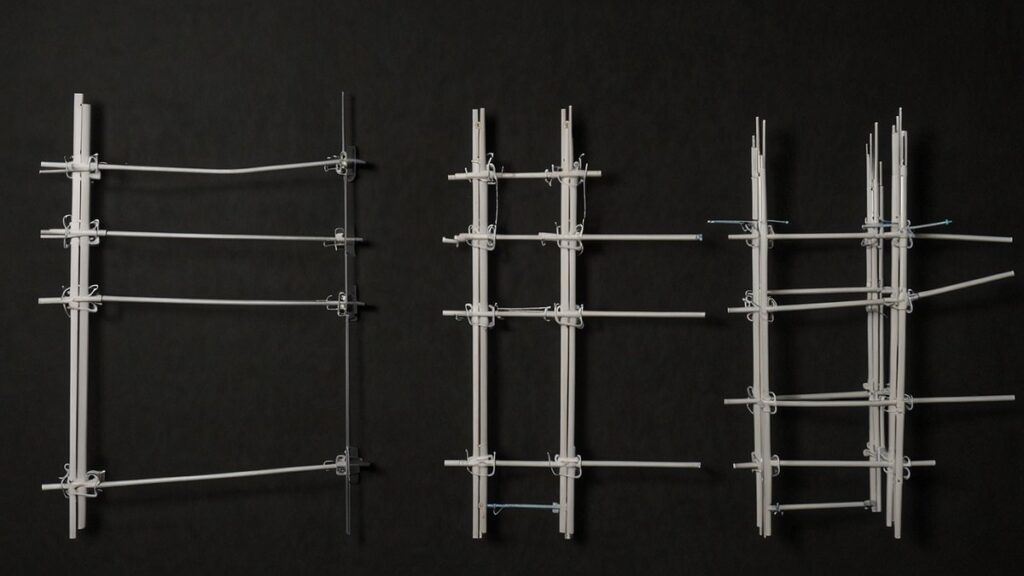
Building a Simple T-Trellis
This is the most common and effective system for home gardens.
- Set sturdy 4×4 or metal T-posts at each end of the row, sunk 2 feet into the ground.
- Place additional posts every 15-20 feet for long rows.
- Attach a crossarm (about 2 feet long) to the top of each post to form a “T”.
- Run two layers of high-tensile wire or heavy-gauge galvanized wire: one along the ends of the crossarms (about 5 feet high) and one about 3 feet high.
Training Canes to the Trellis
The general rule is to train the first-year canes (primocanes) in one direction and the second-year canes (floricanes) in another. This makes pruning simple.
- Year 1: As the new primocanes grow, gently tie them to the lower wire on one side of the trellis.
- Year 2: These same canes (now floricanes) will flower and fruit. After they fruit, you will prune them out. Meanwhile, new primocanes are growing. Train these to the opposite side of the trellis or to the top wire, keeping them separate from the fruiting canes.
Pruning and Maintenance
Pruning is the most critical skill for maintaining a healthy and productive blackberry patch. It seems complex but is simple once you understand the plant’s lifecycle.
Understanding Primocanes and Floricanes
Blackberries have a biennial growth habit:
- Primocane: A first-year cane. It grows vegetatively (produces leaves and stores energy) but does not flower.
- Floricane: A second-year cane. This cane flowers, fruits, and then dies. It will not fruit again.
Annual Pruning Schedule
- Summer Tipping (for erect types): In late spring/early summer, when primocanes reach about 3-4 feet in height, pinch or cut off the top 2-3 inches. This encourages lateral branching, which will lead to more fruit next year.
- Post-Harvest Pruning: Immediately after you finish harvesting, identify all the canes that just bore fruit (the floricanes). They will look brown and woody. Cut these canes off at the base and remove them from the garden. This is the most important pruning task, as it removes disease inoculum and opens up the canopy.
- Late Winter Pruning: In late winter, before new growth begins, thin the remaining primocanes. For erect varieties, leave 4-6 of the strongest canes per plant. For trailing types, leave 8-12 canes per plant. Also, prune the lateral branches on these canes back to about 12-18 inches long.
Thinning and Cleanup
Good sanitation is vital. Always remove pruned canes and any fallen leaves or rotten fruit from the garden area to break the cycle of pests and diseases. Sterilize your pruning shears with a 10% bleach solution or rubbing alcohol between plants to avoid spreading pathogens.
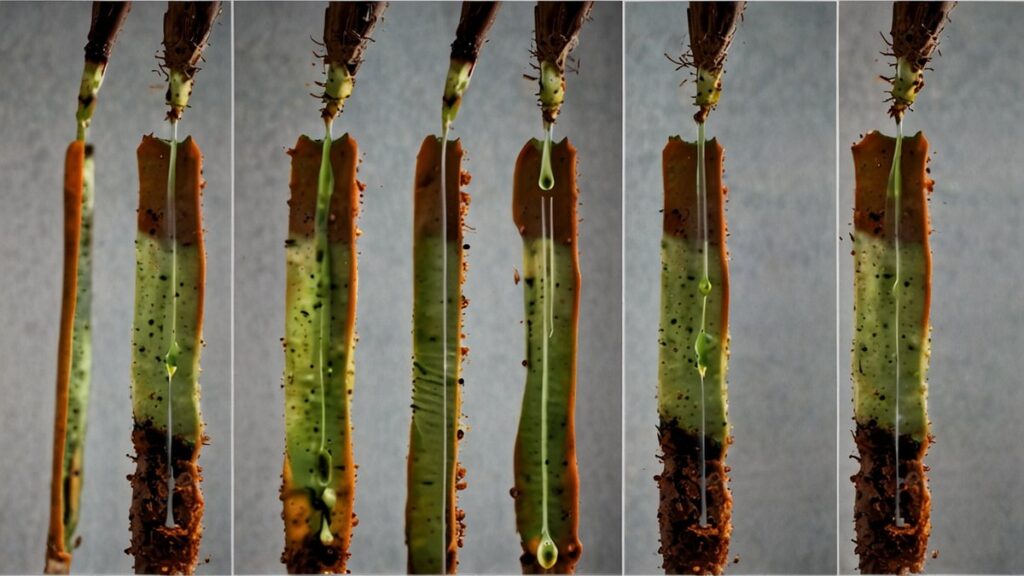
Propagating Your Blackberries
Once you have a healthy plant, it’s easy and economical to make more. While many explore how to grow blackberries from seed or even how to grow blackberries from seed indoors, these methods are slow and won’t produce true-to-type plants. For reliable results, vegetative propagation is best. Some adventurous gardeners also try how to grow blackberries from fruit, which is essentially the seed method.
Tip Layering (Easiest Method for Trailing Types)
In late summer, the tips of trailing blackberry canes will naturally arch over and touch the ground. They will develop a swollen, whitish node.
- Bury just the tip of the cane (about 2-3 inches) in a small hole of soil.
- Anchor it with a landscape staple or rock.
- By the following spring, it will have developed roots. You can then sever the new plant from the mother plant and transplant it.
Root Cuttings (Best for Erect Types)
In late winter while the plant is dormant, carefully dig down near the parent plant and find a pencil-thick root.
- Cut a 3-6 inch section of root.
- Plant the root cutting horizontally, about 2-3 inches deep, in a pot or prepared garden bed.
- Keep it moist, and it will send up a new shoot. This is a highly effective method for learning how to grow blackberries from cuttings.
Transplanting Suckers
Erect blackberries often send up new shoots, called suckers, from their roots a short distance from the main plant. In early spring, you can dig these up, ensuring you get a good portion of root, and immediately replant them in a new location.
Growing Blackberries in Containers
Even those with limited space can enjoy homegrown blackberries. Learning how to grow blackberries in pots is a fantastic solution for patios, balconies, and small yards.
Choosing the Right Container and Variety
Select a compact, thornless variety like ‘Baby Cakes®’ or ‘Black Cascade’ (a trailing variety perfect for hanging baskets). The container must be at least 24 inches wide and deep (a half-barrel is ideal) and have excellent drainage holes.
Potting Mix and Planting
Do not use garden soil. Fill the container with a high-quality, well-draining potting mix. Mix in a slow-release fertilizer at the time of planting. Plant a single blackberry plant per container.
Care for Potted Blackberries
Container plants dry out much faster than in-ground plants. You will likely need to water daily during hot, dry weather. Fertilize more frequently with a liquid fertilizer as nutrients leach out with constant watering. Provide a small trellis or obelisk inside the pot for support. Potted plants are more vulnerable to winter cold; either move the container to an unheated garage or wrap it in burlap and insulation for winter protection.
Harvesting and Storing Your Bounty
The moment you’ve been waiting for!
When and How to Harvest
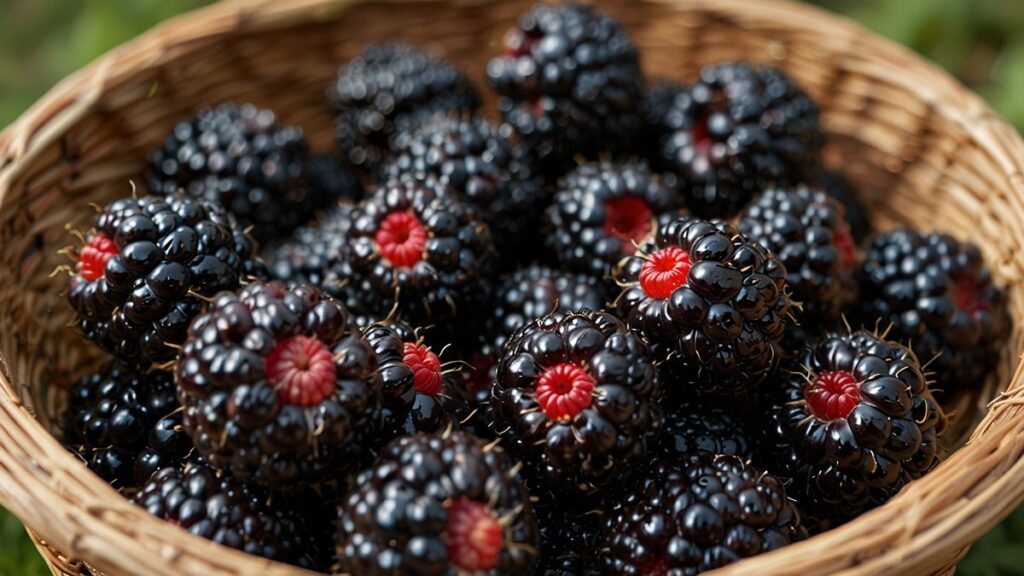
Blackberries do not continue to ripen after being picked, so it’s crucial to harvest them at peak perfection. A ripe blackberry will be deep black, plump, and will pull from the stem with only a slight tug. If you have to pull hard, it’s not ready. If it’s dull black and feels soft, it’s overripe. Harvest in the cool of the morning and handle the berries gently to avoid bruising.
Storing and Preserving
Blackberries are highly perishable.
- Short-Term: Store unwashed in a single layer in the refrigerator for 2-3 days.
- Freezing: Wash and pat dry. Spread in a single layer on a baking sheet to “flash freeze,” then transfer to airtight freezer bags. They will keep for up to a year.
- Preserving: They make exceptional jam, jelly, syrup, and wine. They can also be pureed and dehydrated into fruit leather.
Troubleshooting Common Problems
Even with the best care, issues can arise. Here’s how to identify and manage them.
Common Pests
- Spotted-Wing Drosophila (SWD): This invasive fruit fly is the most serious pest. It lays eggs in ripening fruit. Monitor with traps and harvest fruit immediately as it ripens. If infestation occurs, all fallen fruit must be destroyed (bagged and solarized in the sun).
- Japanese Beetles: They skeletonize leaves. Hand-pick them in the early morning and drop them into soapy water.
- Spider Mites: Cause stippling on leaves, especially in hot, dry weather. Spray plants with a strong jet of water to dislodge them.
Common Diseases
- Anthracnose/Orange Felt: Fungal diseases that cause cane spots and dieback. Prevention is key: provide good airflow, avoid overhead watering, and prune out and destroy infected canes.
- Powdery Mildew: White powdery coating on leaves. Treated with horticultural oils or potassium bicarbonate sprays.
- Root Rot: Caused by poorly draining soil. Ensure your site has excellent drainage before planting.
Nutritional Deficiencies
Yellowing leaves can indicate a problem.
- Iron Chlorosis: Yellow leaves with green veins, often in high pH soil. Treat with chelated iron.
- Nitrogen Deficiency: Uniform yellowing of older leaves. Address with a balanced fertilizer.
Frequently Asked Questions (FAQ)
- How long does it take for a new blackberry plant to bear fruit?
You will typically get a small harvest in the second year after planting. Plants reach full production in their third and fourth years. - Why are my blackberries sour?
The most common reason is harvesting too early. Wait until the berry is completely black and detaches easily. Lack of sun or water during fruit development can also impact sweetness. - Can I grow blackberries and raspberries together?
It’s not recommended. They can share several diseases and pests (like verticillium wilt), which can spread more easily between them when planted in close proximity. - Do I need two blackberry plants to get fruit?
No. Blackberries are self-fertile, meaning a single plant can pollinate itself and produce fruit. - What is the difference between a blackberry and a black raspberry?
When you pick a blackberry, the torus (the white core) stays with the fruit. When you pick a black raspberry, the torus remains on the plant, leaving the fruit hollow. - How long do blackberry plants live?
A well-maintained blackberry patch can remain productive for 15-20 years, though individual canes only live for two years (as primocane and floricane). - Should I remove the flowers in the first year?
Yes. If your plant tries to flower in its first year, pinch the blooms off. This directs all the plant’s energy into establishing a strong root system, leading to a much larger harvest in subsequent years. - Can I grow blackberries from grocery store berries?
It’s possible but unreliable. The seeds may not be viable, and the resulting plant will not be true-to-type (it will revert to an unknown, often inferior, parentage). It’s also a very slow process. Propagation from cuttings is vastly superior.