
To grow garlic from cloves, select large disease-free cloves, prepare well-drained soil amended with compost at pH 6.0–6.5, plant cloves 2–3 inches deep and 4–6 inches apart in fall, mulch for winter protection, water and fertilize in spring, remove scapes in early summer, and harvest when lower leaves brown after 8–9 months
Introduction to Clove-Based Garlic Propagation
Each garlic bulb contains multiple cloves, each capable of producing a full-sized bulb. This clonal propagation preserves parent variety traits and simplifies seed stock management. Growing garlic from cloves is accessible to beginners and yields reliable harvests when proper techniques are followed.
Selecting and Preparing Seed Cloves
Choose certified seed garlic sourced from reputable growers. Avoid grocery-store bulbs treated to inhibit sprouting. Inspect bulbs and select the largest, firmest cloves—size correlates to mature bulb size. Discard any cloves showing blemishes, mold, or soft spots.
Separate bulbs into individual cloves no more than 24 hours before planting to prevent desiccation. Keep papery skins intact around each clove to protect against soil pathogens. Handle cloves gently—damage to the basal plate can inhibit root development.
Site and Soil Preparation
Garlic prefers loose, fertile soil with excellent drainage. Choose a sunny location receiving at least 6 hours of direct sunlight. Conduct a soil test and adjust pH to 6.0–6.5 using lime or sulfur as needed. Amend soil thoroughly with 2–4 inches of well-aged compost or manure incorporated into the top 8 inches to boost organic matter and fertility.
To prevent disease buildup, avoid planting garlic or other alliums in the same spot for at least four years. Rotate with non-allium crops such as legumes or brassicas to maintain soil health and break pest cycles.
Planting Technique and Timing
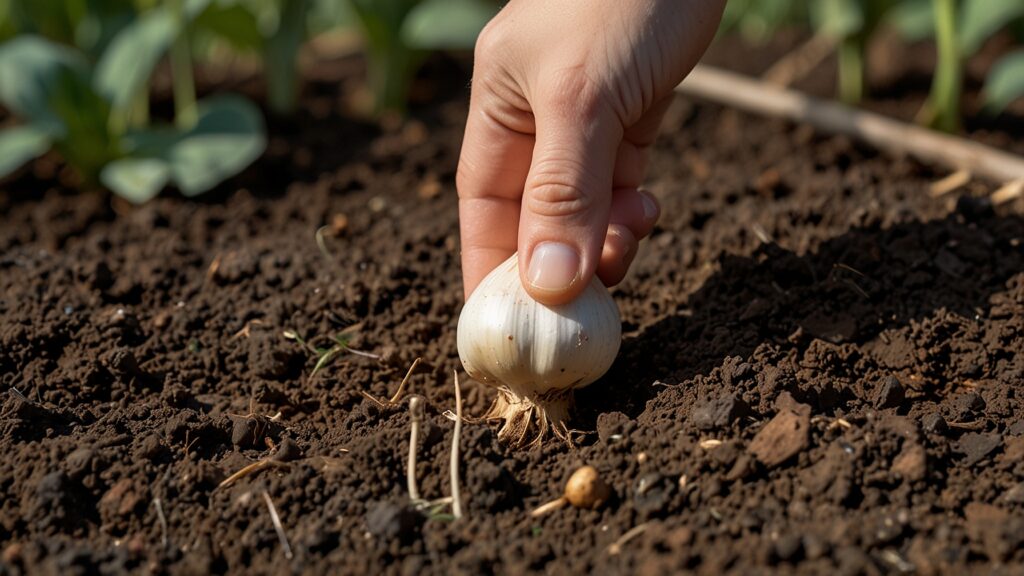
In temperate climates, plant garlic in mid to late fall, 4–6 weeks before ground freezes, when soil temperatures are around 50 °F. In mild winters, planting can extend into early winter. For spring planting, pre-chill cloves at 35–40 °F for 4–6 weeks to simulate vernalization and improve bulb formation.
Dig planting holes 2–3 inches deep, spacing cloves 4–6 inches apart in all directions. Rows should be 12–18 inches apart for maintenance access. Place each clove pointy end up and basal plate down, then firm soil gently over the clove.
Cover with 2–4 inches of straw or shredded leaves to insulate soil, suppress weeds, and prevent frost heaving. In colder zones, increase mulch to 6 inches and consider floating row covers if extreme cold is forecast.
Winter and Early Spring Care
During winter, mulch insulates soil and stabilizes temperatures. Check mulch layer periodically and replenish if it compacts. Avoid walking on planted areas to prevent soil compaction.
As soil warms in early spring and shoots emerge, remove any impermeable covers but leave mulch to conserve moisture. Apply a balanced fertilizer or side-dress with compost when shoots reach 2 inches tall. Maintain consistent moisture—garlic prefers about 1 inch of water per week but does not tolerate waterlogging.
Fertilization and Nutrition
Garlic is a heavy feeder. Apply a high-nitrogen fertilizer or compost tea at green-up, then follow with a second application 4–6 weeks later. Excessive nitrogen late in the season can delay maturity and reduce storage life, so avoid late applications.
Monitor foliage for deficiency symptoms: pale yellow leaves indicate nitrogen shortage, while purple tints suggest phosphorus deficiency. Adjust feeding accordingly.
Scape Removal for Hardneck Varieties
Hardneck garlic produces a flowering stalk called a scape in early summer. Harvest scapes when they form tight curls by snapping them off at the base. This redirects energy into bulb development and provides a tasty allium treat.
Pest and Disease Management
Inspect plants weekly for common issues: thrips (silver streaks), aphids, and fungal spots. Control pests with insecticidal soap or neem oil applied early morning. Improve air circulation by spacing cloves correctly and removing excess mulch. Practice strict crop rotation to prevent soil-borne diseases like white rot and fusarium.
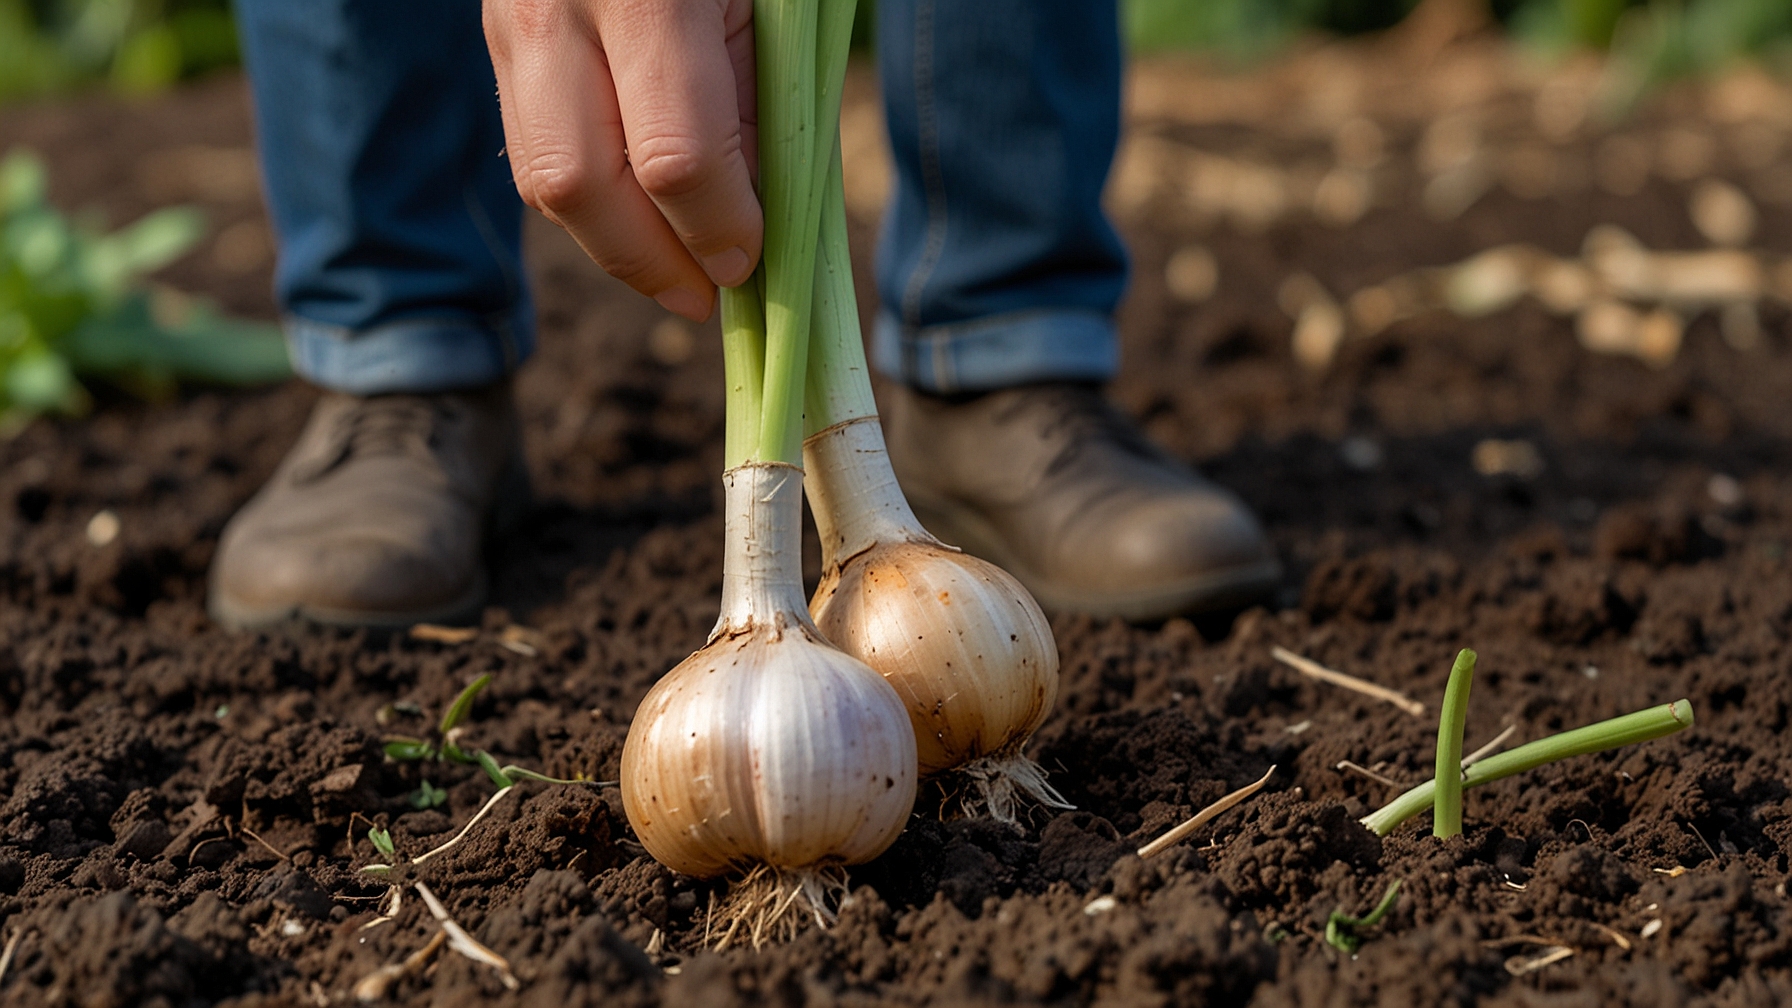
Harvest Timing and Methods
Garlic matures 8–9 months after planting. Harvest when the bottom four to six leaves have browned and the upper leaves are still green. Stop irrigation two weeks before harvest to promote natural curing. Use a garden fork to gently lift bulbs, brushing away soil without removing protective wrappers to maximize storage life.
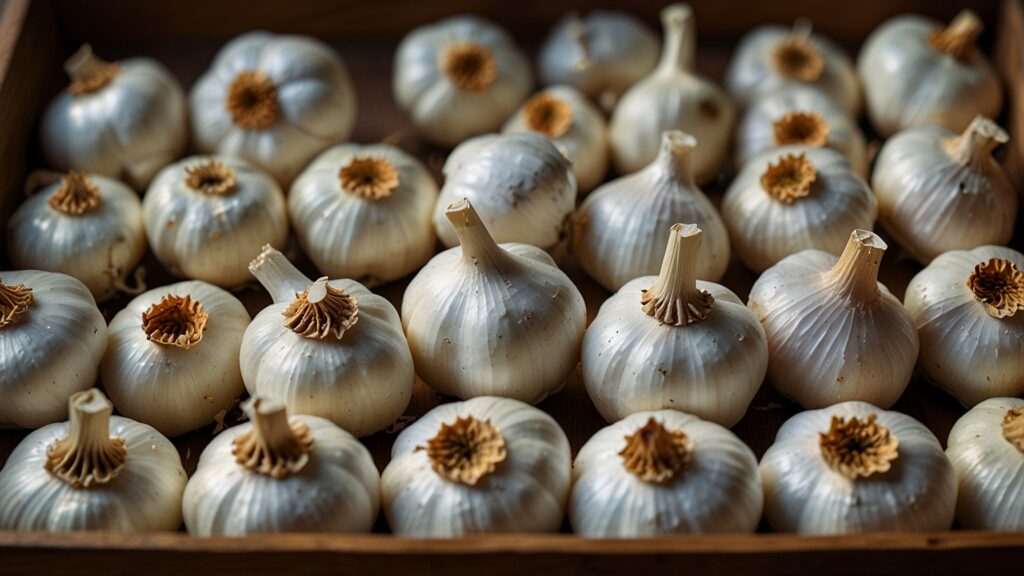
Curing and Storage
Cure garlic in a shaded, well-ventilated area at 70–80 °F and moderate humidity (50–60%) for 2–4 weeks. Hang plants in bundles or spread bulbs on mesh racks, turning weekly until outer skins are papery and necks are dry. After curing, trim roots to ¼ inch and cut stalks to 1 inch above bulbs.
Store softneck garlic in braids or mesh bags at 32–40 °F and 60–70% humidity for 8–10 months; hardneck varieties store 4–6 months. Use sprouted or soft bulbs first. Preserve surplus by freezing peeled cloves, dehydrating into flakes or powder, or making garlic-infused oils and vinegars.
Troubleshooting Tips
If cloves fail to emerge, check for rot or rodent damage. Yellow, wilting shoots may indicate nutrient deficiencies or water stress. Excessively small bulbs often result from overcrowding or insufficient cold exposure. Maintain detailed records of varieties, planting dates, and yields to refine techniques each season.
Growing garlic from cloves is straightforward with proper clove selection, soil preparation, planting timing, and care. This method ensures a reliable garlic harvest that reflects the quality of the chosen variety and rewards gardeners with fresh bulbs and scapes year after year.