
To grow an avocado seed, clean it and suspend the broad end down in water using toothpicks. Place it in a warm, bright spot, refreshing the water weekly. Once a substantial stem and roots develop, transplant it into a pot with well-draining soil. Provide ample sunlight, consistent moisture, and patience as it grows.
Selecting and Preparing Your Avocado Seed
The journey to a thriving avocado tree begins with the right seed. This initial step is more crucial than most people realize, as the quality and preparation of your pit directly influence your chances of success.
Choosing the Perfect Seed
Not every avocado seed is created equal. For the highest probability of germination, you should source your seed from a ripe, healthy avocado. Here’s what to look for:
- Source: Use a seed from a Hass or Fuerte avocado variety, as they are commonly grown and reliable. Avoid seeds from avocados that were overly mushy or had visible mold.
- Ripeness: The fruit should yield gently to pressure. An underripe avocado’s seed is often immature, while an overripe fruit might harbor bacteria that could affect the seed.
- Condition: The seed itself should be plump, rounded, and without any major cracks, gashes, or discolorations. A healthy seed is typically a uniform light or medium brown color.
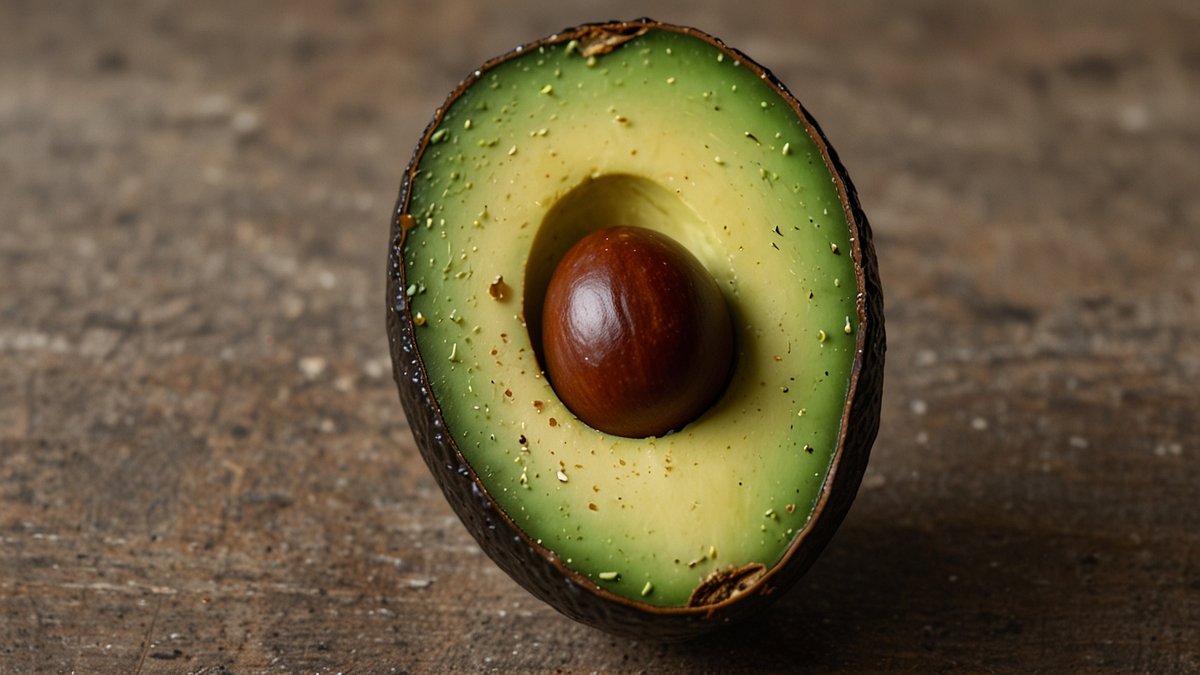
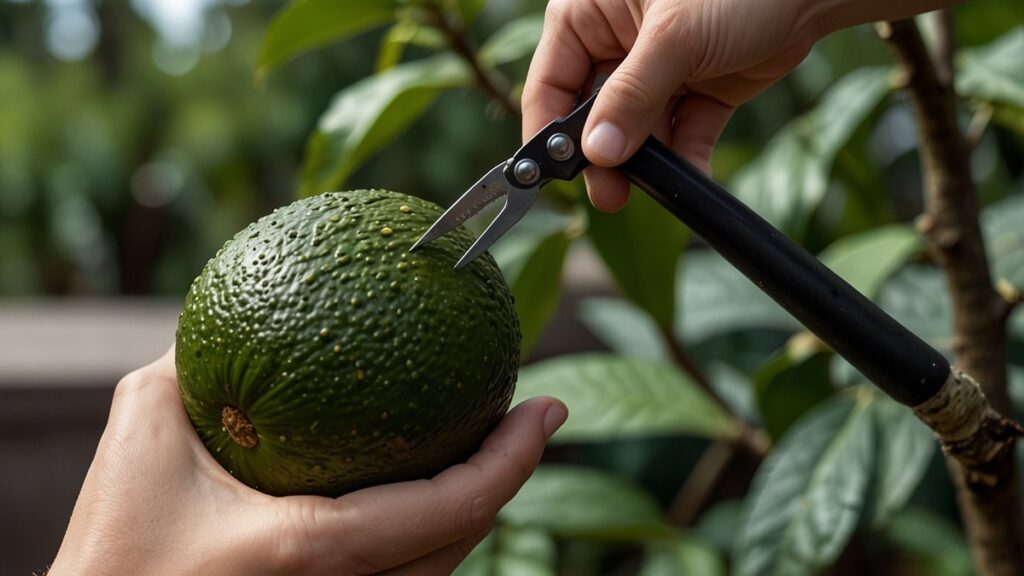
The Cleaning Process
Once you’ve extracted the seed from the fruit, it is coated in a slippery, sugary residue that can promote fungal growth. Thorough cleaning is non-negotiable.
- Gently rinse the seed under lukewarm running water.
- Use your fingers or a soft brush to gently scrub away all the green fruit flesh clinging to the brown pit. Be careful not to damage the brown skin (the seed coat), as this protects the inner embryo.
- Pat it dry completely with a clean paper towel.
Identifying the Top and Bottom
This is the most common mistake beginners make. An avocado seed has a distinct top (the pointed end) and bottom (the broader, flatter end).
- The Bottom (Basal End): This is the wider, often slightly flattened end. This is where the roots will emergently push out.
- The Top (Apical End): This is the more pointed end. From here, the stem and eventual leaves will sprout upwards.
When you place your seed in water, the bottom must be submerged, and the top must remain dry and exposed to air. Getting this backwards will prevent germination.
Germination Methods: Water vs. Soil
There are two primary schools of thought for starting an avocado seed: the water method and the soil method. Both are effective, but they offer different experiences.
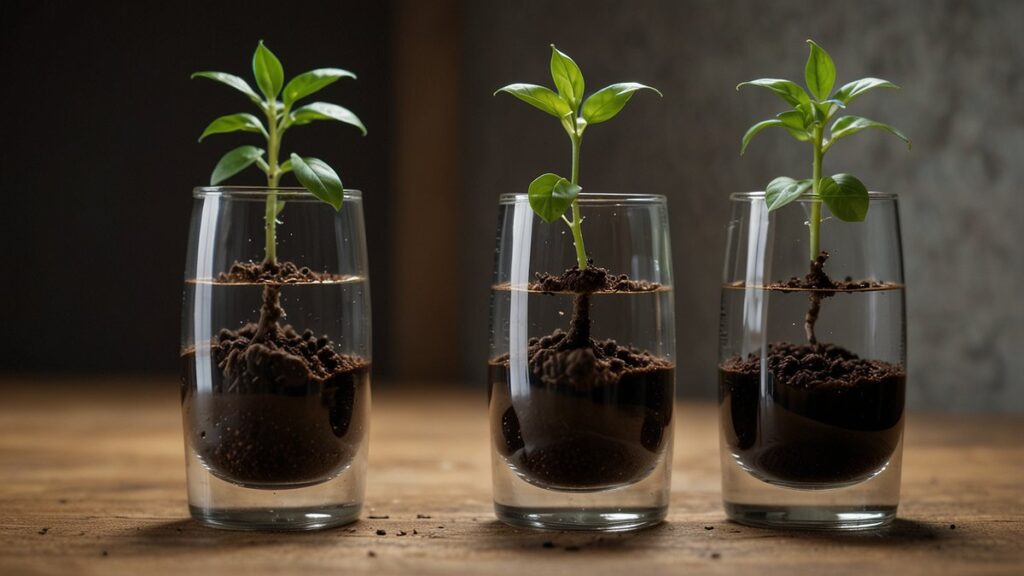
The Water Glass Method
This is the classic, most popular method because it allows you to witness the magical process of root and shoot development. For a detailed, step-by-step guide, see our article on How To Grow Avocado In Water.
- Take three or four toothpicks and insert them at a slight downward angle into the sides of the seed, about halfway up. They should be sturdy enough to support the seed.
- Balance the seed on the rim of a glass, jar, or vase. The toothpicks will hold it in place.
- Fill the glass with water until approximately one inch of the seed’s bottom (the broad end) is submerged.
- Place the glass in a warm, bright location out of direct sunlight.
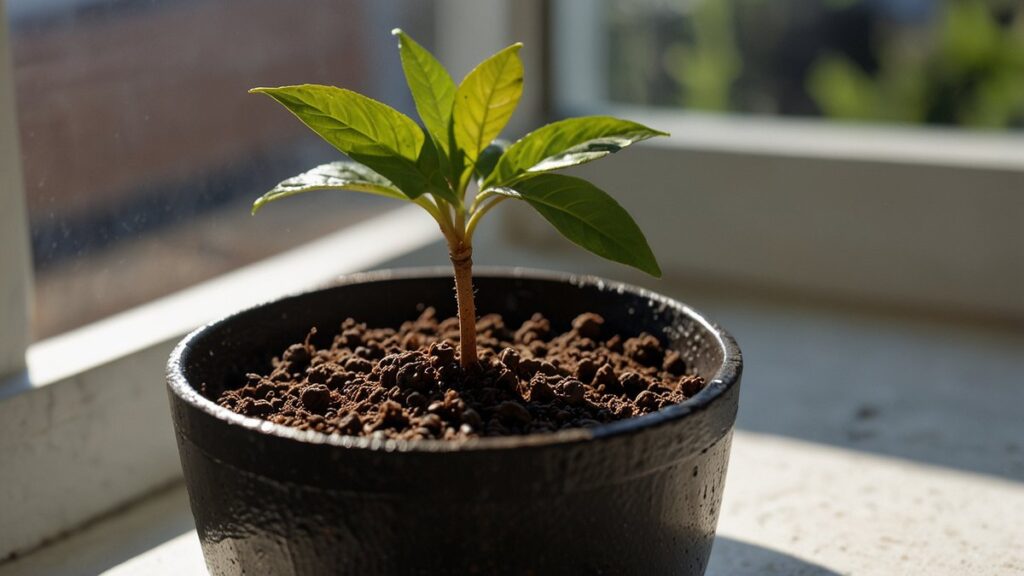
The Direct Soil Method
For those who prefer a more hands-off, natural approach, planting directly in soil is an excellent alternative. Learn the specifics in our dedicated guide on how to grow avocado in soil.
- Fill a small 6-8 inch pot with a very well-draining potting mix. A cactus/succulent blend is ideal, or you can amend regular potting soil with perlite (30%).
- Plant the seed so that the top half (the pointed end) is exposed above the soil line.
- Water the soil thoroughly until water runs out of the drainage holes, then place the pot in a warm, bright spot.
- Keep the soil consistently moist but never soggy.
Pros and Cons of Each Method
- Water Method:
- Pros: Visually rewarding, allows you to monitor root health, no guesswork about moisture.
- Cons: Requires more maintenance (weekly water changes), transition to soil can be stressful for the plant, roots exposed to light are less robust.
- Soil Method:
- Pros: More natural growth environment, no transplant shock, roots are stronger and light-protected.
- Cons: It’s a “black box” – you can’t see what’s happening, requires careful watering to avoid rot.
Ideal Growing Conditions and Location
Avocados are tropical plants with specific needs. Replicating their preferred environment is key to moving from a spindly seedling to a robust plant.
Light Requirements
Light is the engine of plant growth. Avocado seedlings are notoriously leggy, meaning they stretch thin and tall searching for light.
- Germination Phase: Bright, indirect light. A north-facing window or an east-facing window is perfect.
- Established Seedling: As much bright, direct light as you can provide. A south or west-facing window is ideal. If natural light is insufficient, especially in winter, supplement with a grow light for 12-16 hours a day placed 6-12 inches above the plant.
Temperature and Humidity
As natives of Central America, avocados despise the cold.
- Temperature: Maintain a consistent temperature between 60°F and 85°F (15°C – 29°C). Anything below 50°F (10°C) can cause stress, leaf drop, and stunted growth. Avoid placing your plant near drafty windows or heating/cooling vents.
- Humidity: They thrive in moderate to high humidity (40-60%). Indoor air, especially in winter, can be very dry. Combat this by grouping plants together, using a humidifier, or placing the pot on a pebble tray filled with water (ensure the pot is not sitting in the water).
Air Circulation
Good air flow is vital for preventing fungal diseases like powdery mildew. A gentle breeze from an oscillating fan on a low setting can strengthen the stem and keep the foliage healthy. Avoid placing it in a completely stagnant corner.
The Waiting Game: Germination Timeline
Patience is the most important tool in your gardening kit. Understanding the timeline manages expectations and prevents you from giving up too soon. For a deeper dive, read our resource on how long does it take for an avocado seed to sprout.
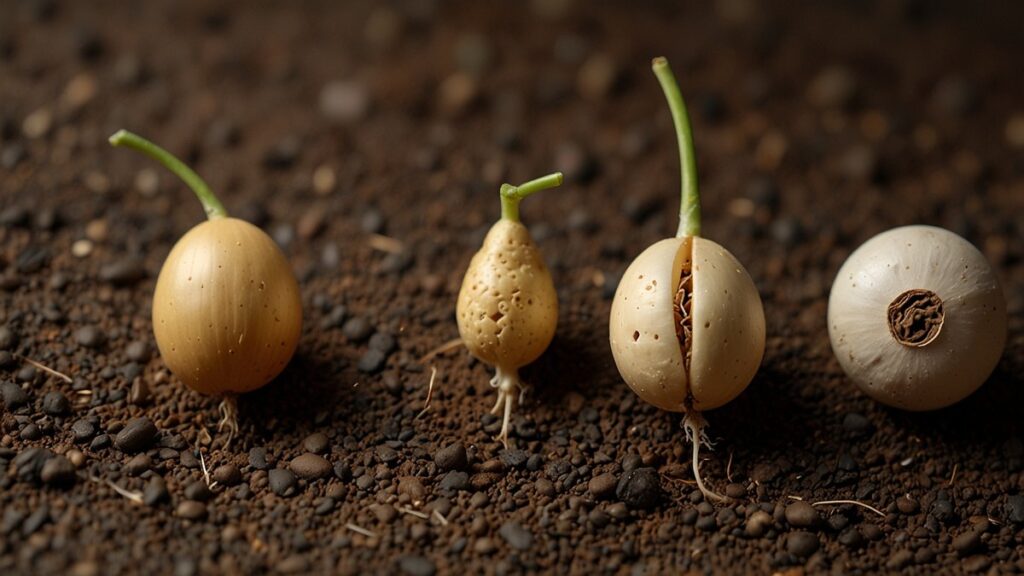
Stage 1: The Crack (2-8 Weeks)
The first sign of life is a crack that will appear vertically from the top to the bottom of the seed. This is the embryo expanding and breaking out of its shell. Don’t disturb it during this critical phase.
Stage 2: Root Emergence (3-10 Weeks)
Soon after the crack appears, a single thick, primary taproot will begin to emerge from the bottom (broad end) and grow down into the water or soil. This root system is the foundation of your future tree.
Stage 3: Shoot Emergence (3-12 Weeks)
Finally, a stem will push its way out of the top (pointed end) and begin to grow upwards. The first set of leaves will unfurl, usually a vibrant green. The time from starting to this stage can vary wildly based on temperature, seed viability, and season.
Factors Influencing Speed
- Heat: Seeds germinate significantly faster in warmer conditions (~75-80°F).
- Season: Starting in spring or summer mimics their natural cycle and leads to faster growth.
- Seed Health: A seed from a fresh, ripe fruit will perform better than one from an old, refrigerated avocado.
Transplanting to Soil
If you started your seed in water, the transition to soil is a delicate but necessary process. Timing is everything.
When to Transplant
Wait until your seedling has developed a strong network of roots and a healthy stem with several leaves. Good indicators are:
- Roots are at least 2-3 inches long and have begun to develop secondary (smaller, hair-like) roots.
- The main stem is 6-7 inches tall and has been pruned back once to encourage bushier growth (more on that later).
Choosing the Right Pot and Soil
Avocados need excellent drainage to avoid fatal root rot.
- Pot: Select a pot that is only 1-2 inches wider in diameter than the current root ball. A pot that is too large will hold excess moisture. Ensure it has generous drainage holes. Terracotta pots are excellent as they are porous and help wick away moisture.
- Soil: Do not use garden soil. Use a high-quality, well-draining potting mix. A recommended blend is:
- 60% quality potting soil
- 20% perlite
- 20% horticultural sand or orchid bark
The Transplanting Process
- Gently remove the seedling from the water glass, being extremely careful not to snap the brittle roots.
- Fill your new pot partway with your pre-moistened soil mix.
- Create a small hole in the center and carefully place the roots into it, spreading them out gently.
- Hold the plant steady and fill in around the roots with more soil. The seed itself should sit half-exposed above the soil line, just as it did in the water.
- Water thoroughly to settle the soil and eliminate air pockets. Place the pot back in its bright, warm location.
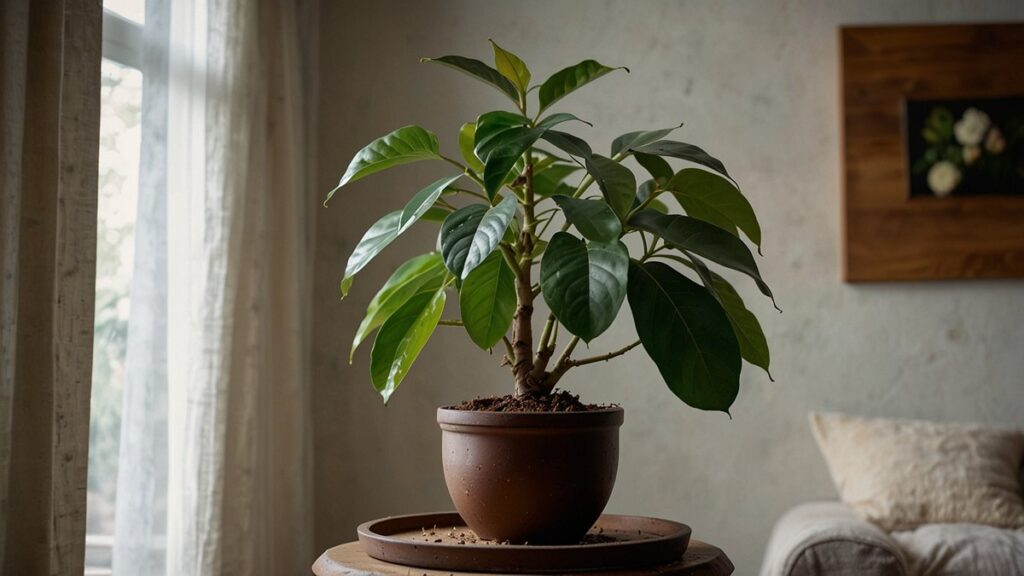
Ongoing Care and Maintenance
Your plant is now established. Consistent care will determine its long-term health and appearance. For a full checklist, explore our tips to care for a growing avocado plant.
Watering Techniques
This is the most common point of failure. The goal is consistently moist soil, not wet or dry.
- Check Moisture: Before watering, stick your finger 1-2 inches into the soil. If it feels dry, it’s time to water. If it’s still moist, wait another day.
- Thorough Watering: When you do water, do so thoroughly until water flows freely from the drainage holes. This ensures the entire root ball is hydrated.
- Seasonal Adjustment: Water more frequently in the warm, bright summer months. Reduce watering significantly in the fall and winter when growth slows.
Fertilizing for Growth
A young avocado plant in a pot relies on you for nutrients.
- When to Start: Begin fertilizing only after the seedling has several sets of true leaves and is actively growing.
- What to Use: Use a balanced, water-soluble fertilizer (e.g., 10-10-10 or 7-9-5) diluted to half the recommended strength.
- Frequency: Fertilize every 4-6 weeks during the active growing season (spring and summer). Do not fertilize at all in autumn and winter.
Pruning and Shaping
Without intervention, an avocado plant will grow into a single, tall, and often weak stem. Pruning encourages a bushier, stronger plant.
- First Prune: When the main stem reaches 6-7 inches in height, cut it back by half, just above a leaf node (the point where a leaf grows from the stem).
- Ongoing Pruning: As new branches grow and reach a few inches, you can pinch off their very tips to encourage further branching. This creates a full, attractive plant.
Troubleshooting Common Problems
Even with the best care, issues can arise. Here’s how to diagnose and treat common avocado seedling ailments.
Yellowing Leaves
Yellow leaves are a classic symptom, but the cause can vary.
- Overwatering: The most common cause. Leaves turn yellow and may feel soft. Check your soil moisture and watering habits immediately.
- Underwatering: Leaves turn yellow, become crispy, and may drop. The soil will be very dry.
- Nutrient Deficiency: Often a lack of nitrogen. Older leaves yellow first while veins may stay green. A diluted dose of fertilizer can help.
Brown Leaf Tips and Edges
This is typically a sign of environmental stress, not disease.
- Low Humidity: Dry air pulls moisture from the leaves. Increase humidity around the plant.
- Salt Buildup: Minerals from tap water or fertilizer can accumulate in the soil and “burn” the roots. Flush the soil every few months by watering thoroughly until water runs freely from the bottom for a minute.
- Chemical Sensitivity: Avocados can be sensitive to fluoride and chlorine in tap water. Using filtered or rainwater can sometimes resolve tip burn.
Pests and Diseases
Indoor avocados can attract common houseplant pests.
- Spider Mites: Tiny spiders that create fine webbing, especially under leaves. Wipe leaves regularly and treat with insecticidal soap or neem oil.
- Mealybugs: Small, white, cottony pests. Dab them with a cotton swab dipped in rubbing alcohol.
- Root Rot: Caused by chronically soggy soil. The plant will wilt, leaves will yellow and drop, and roots will be brown and mushy. Prevention through proper watering is the only cure.
Long-Term Expectations and Fruiting
It’s important to have realistic expectations for your homegrown avocado tree.
Will It Fruit?
This is the million-dollar question. An avocado grown from a seed is a genetic gamble.
- Likelihood: It can take 5 to 15 years for a seed-grown tree to bear fruit, if it ever does. Commercial orchards grow trees from grafted branches to guarantee fruit quality and production.
- Quality: The fruit it produces will not be identical to the parent fruit. It could be better, worse, or not set fruit at all due to a lack of a pollination partner (most avocados need a different type nearby to cross-pollinate).
Container Growth vs. Outdoor Planting
Unless you live in a frost-free climate (USDA zones 9-11), your avocado will likely remain a container plant.
- Container: It will remain a manageable size with regular pruning. It will need repotting into a slightly larger container every 2-3 years until it reaches its maximum desired size.
- Outdoor: In the right climate, an avocado tree can become a massive evergreen tree reaching 40-80 feet tall.
Enjoying the Process
While waiting for fruit is a long shot, the true reward is the process itself. You get a beautiful, lush, tropical houseplant that you nurtured from a simple seed. It’s a rewarding project that teaches patience and offers a deep connection to the food we eat.
Frequently Asked Questions (FAQ)
1. Why is my avocado seed not sprouting?
It could be due to several reasons: the seed was not viable (from an underripe or overripe fruit), the top and bottom were confused, the temperature was too cold, or it simply needs more time. Some seeds can take over 2 months to crack. If after 8 weeks there’s no change and the seed feels soft or smells bad, it’s likely a dud.
2. Can I grow an avocado tree from a store-bought avocado?
Absolutely! This is the most common way to start. Just ensure you select a healthy, ripe fruit. The success rate is high with proper preparation and care.
3. My seed grew roots but no stem. What’s wrong?
This is normal. The root system always develops first to support the future growth of the stem. As long as the roots are healthy and growing, the stem will follow. Be patient and ensure the top of the seed remains dry.
4. The leaves on my seedling are drooping. What should I do?
Drooping leaves are almost always a watering issue. Check the soil. If it’s bone dry, water it thoroughly. If it’s sopping wet, hold off on watering and improve drainage. Also, ensure the plant isn’t in a draft or receiving too much direct, hot sunlight which can cause transpiration stress.
5. Should I peel the brown skin off the seed?
It’s not necessary and generally not recommended. The skin protects the inner seed. However, if a small part is already loose and coming off, you can gently remove that piece. Forcing it off can damage the seed and hinder germination.
6. How often should I change the water in the glass method?
You should change the water completely every 5-7 days. This prevents the buildup of stagnant water, algae, and bacteria that could rot the seed. Rinse the glass and the seed gently when you change the water.
7. Can I grow an avocado plant indoors year-round?
Yes, avocados make excellent houseplants. They will thrive indoors if provided with enough bright light (a south-facing window or supplemental grow lights are best), consistent warmth, and adequate humidity. They can be moved outside in summer if desired but must be acclimated slowly to avoid sunscald.
8. Why are the new leaves on my plant so small?
Small new leaves can be a sign of insufficient light. The plant doesn’t have enough energy to produce large, healthy foliage. Try moving it to a brighter location. It can also indicate a need for fertilizer if the plant has been in the same soil for a long time.